事前知識:Googleカレンダー読み込み前に知っておくべきこと
Googleカレンダーに同期するにあたって知っておいた方がいいことがあります。
反映されるのは「日付」と「説明」のみ
Googleカレンダーにカレンダーを追加したときにすべての登録データが反映されるわけではありません。
反映されるのは「日付」と「説明」のみです。

予約のステータス(例:イベント、予約済み、空きあり)は同期されません。料金、在庫、ツールチップの内容も反映されません。
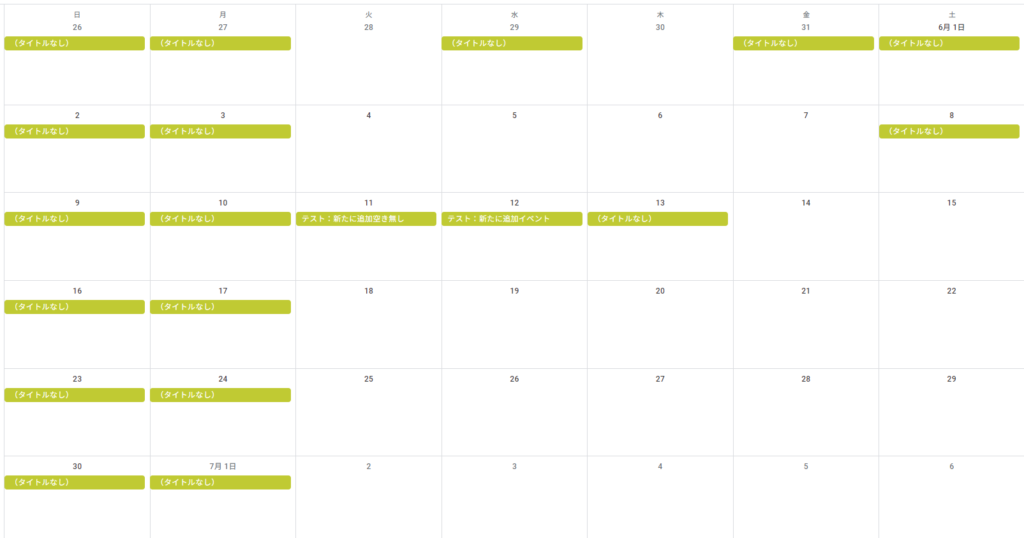
上記の画像のような予定を同期した場合、Googleカレンダー上では以下のように表示されます。

- 説明が空欄の場合は、Googleカレンダー上で「(タイトルなし)」と表示されます。
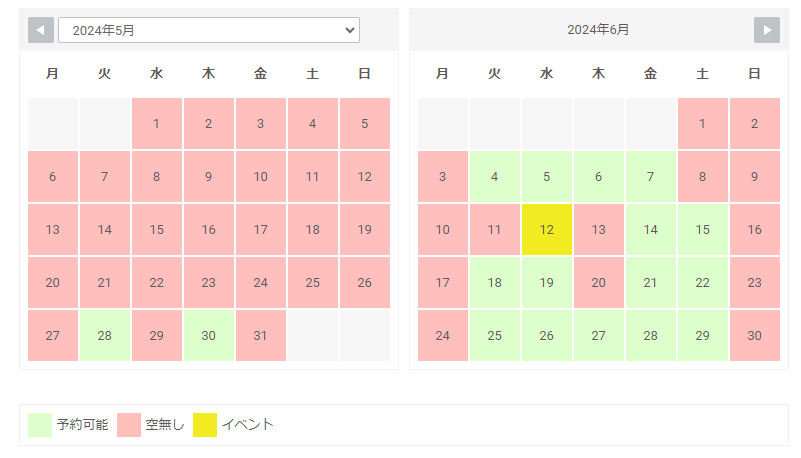
反映できる色は1色単
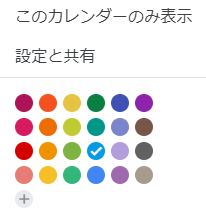
WP Booking System上ではステータスごとに複数の色分けをして表示していたとしても、Googleカレンダー上では単色で表示されます。(単色自体の色はGoogleカレンダー上で変更できます)
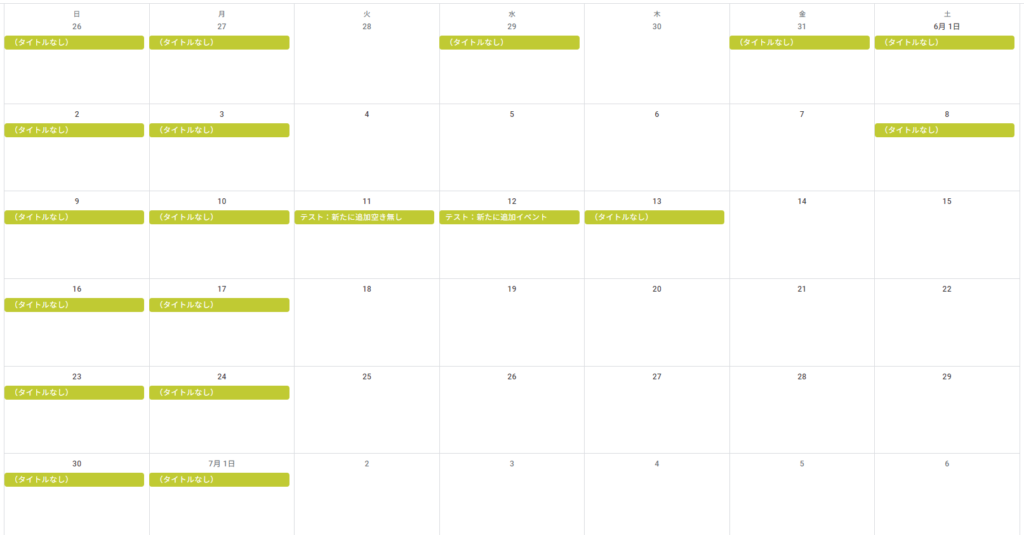
▼例:WP Booking Systemのカレンダー表示
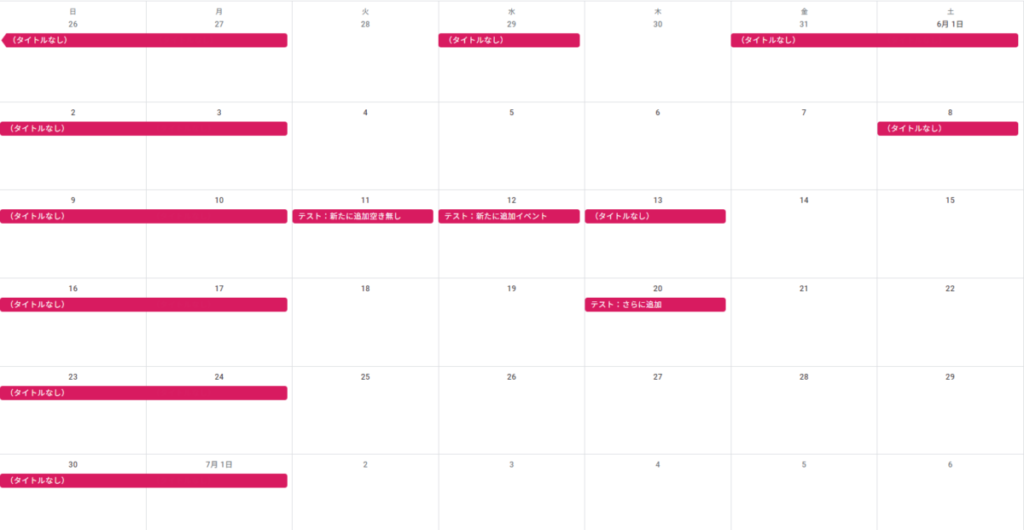
▼Googleカレンダーに同期後
Googleカレンダーに即時反映されない
Googleカレンダーを同期した後に、WP Booking Systemの内容を更新しても、その内容がGoogleカレンダーに即時反映されるわけではありません。
最大で24時間ほどかかります。詳細については下記をご参考ください。
Googleカレンダーにエキスポートする(WP Booking System → Google)
エキスポートするiCalの基本設定
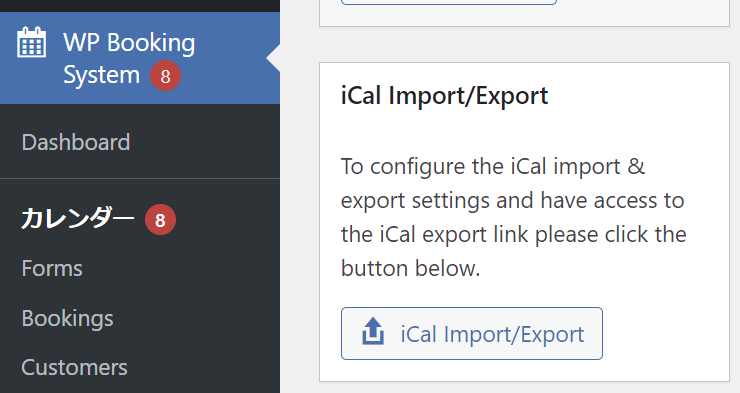
WP Booking SystemのカレンダーをGoogleカレンダーに同期して読み込むには、「カレンダー」から対象のカレンダーを選択します。
下の方に「iCal Import/Export」とあるので、これをクリックします。
一番上にある「Export」がGoogleカレンダーに同期するためのメニューになります。一番上に表示されている拡張子「.cal」のURLを使ってGoogleカレンダーに同期します(このURLが超重要です)
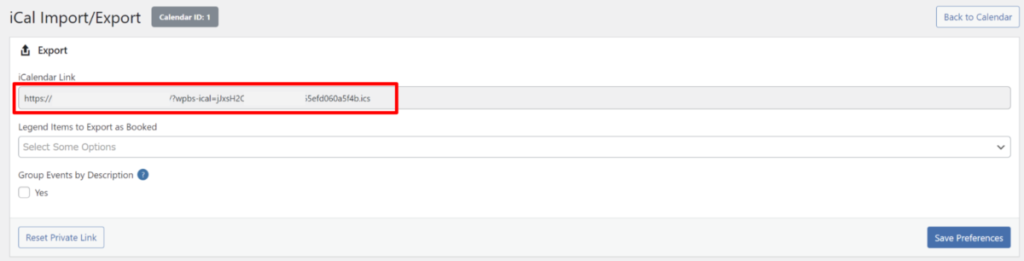
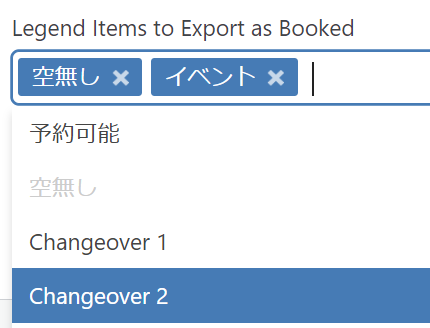
続いて、「」で予約済みとしたいLegend(カレンダー上の項目)を選択します。複数選択可能です。
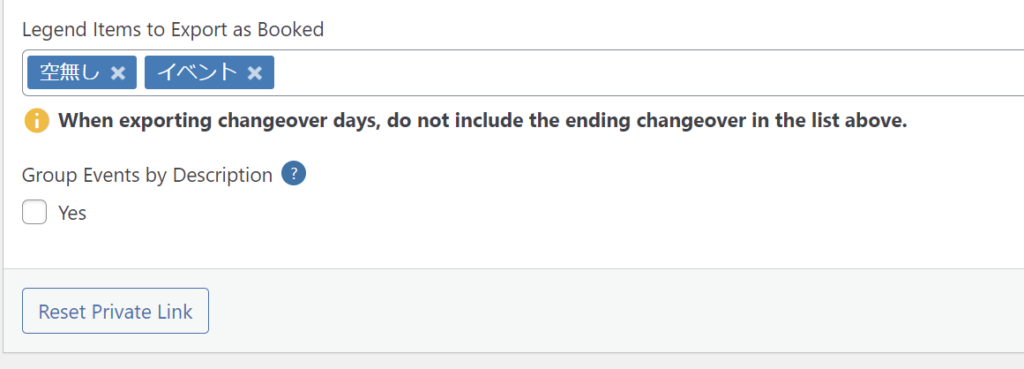
連泊時にカレンダーで半日表示されるステータスの終了日の方を含めないようにしてください。(デフォルトで Changeover2と表示されているものは含めないこと)
予定を連続にする
一番下にある「Group Events by Description」の「Yes」にチェックを入れると、連続した日付でかつ同じ説明になっている予定が連続した予定としてGoogleカレンダーに登録されます。

言葉で説明してもわかりにくいと思います。画像で見るとわかりやすいです。
イベントのグループ化✓「なし」の場合
例えば、「Group Events by Description」にチェックを入れない場合、デフォルトではすべての予定が1つ1つとしてGoogleカレンダーに登録されます。
イベントのグループ化✓「あり」の場合
「Group Events by Description」にチェックを入れると「説明」が同じ、すなわちGoogleカレンダー上で表示されるタイトルが同じ場合で、かつ日付が連続になっているものは連続した予定になります。
通常の宿泊体系の予約であれば✓を入れておいた方が直感的にわかりやすいと思います。「説明」をきちんと管理することが必要です。
設定の保存
設定が完了したら、右下の「Save Preferences」をクリックします。
iCalのURLを新しいものにする
iCalのURLを新しいものにしたい場合は左下の「Reset Private Link」をクリックします。

Googleカレンダーに追加する
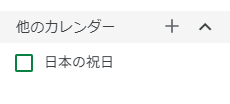
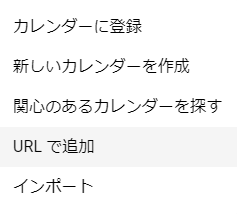
Googleカレンダーへの登録にするには、Googleカレンダーの左メニューに表示されている「他のカレンダー」の「+」をクリックし、「URLで追加」をクリックします。
続いて、外部カレンダーのiCalのURLを貼り付け、「カレンダーを追加」をクリックします。
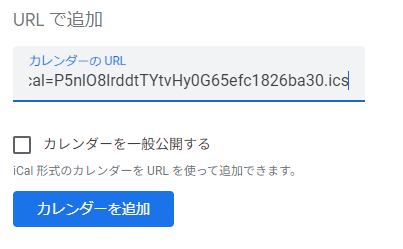
「カレンダーを作成しました。バックグラウンドで予定を取得しています」と表示され、追加が完了します。

以上で、Googleカレンダーへのエキスポート(WP Booking System → Google)は完了です。
Googleカレンダーをインポートする(Google → WP Booking System)
Googleカレンダーをインポートする前に知っておくべきこと
全て1日の予定として反映される
Googleカレンダー上では「終日の予定」と「時間指定の予定」を登録できますが、WP Booking Systemにインポートするとすべての予定が終日の予定とななります。
※時間指定の概念はありません。
予定のタイトルが説明になる
Googleカレンダー上で表示されている予定の名前が説明に表示されます。
例えば、Googleカレンダー上で次のように予定を設定している場合があるとします。
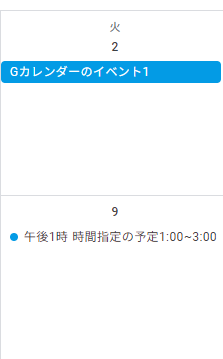
これを、インポートすると説明にそれぞれの表示名が記載されます。
追加した予定の編集はできない
WP Booking Systemに追加したカレンダーの予定はグレーアウトして表示され、編集することはできません。
編集はGoogleカレンダー上で行います。

GoogleカレンダーのiCalの取得
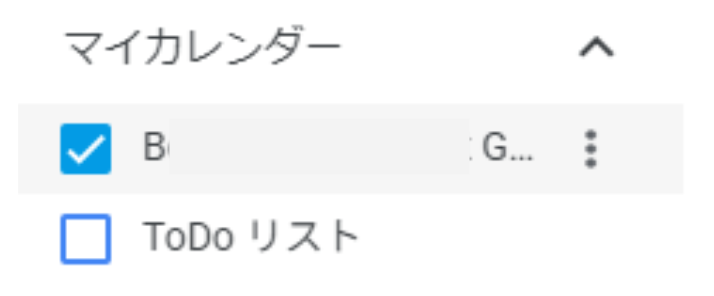
Googleカレンダーをインポートする(Google → WP Booking System)には、Googleカレンダー上でインポートしたいカレンダーの3つの点をクリックします。
続いて「設定と共有」をクリックします。
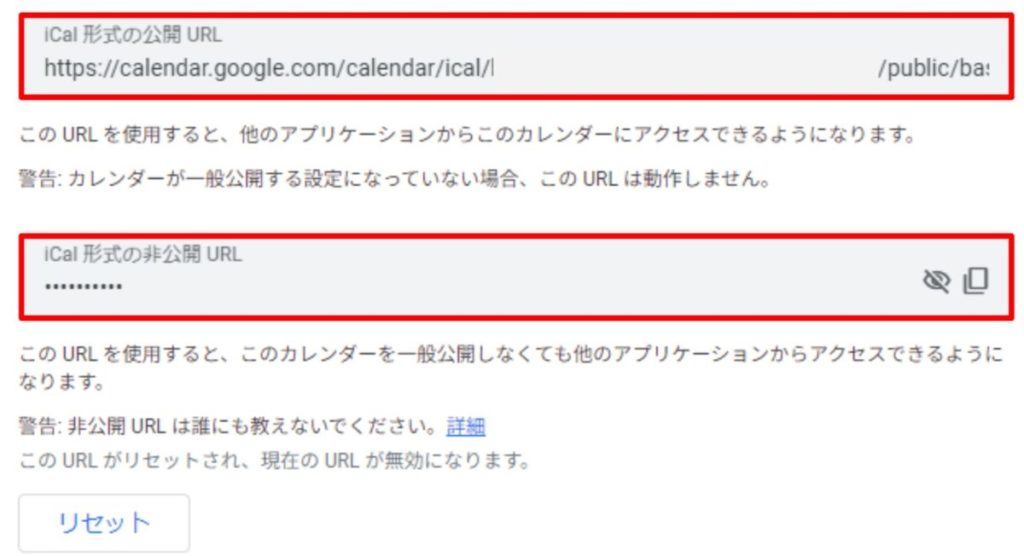
下の方にスクロールして対象のGoogleカレンダーのiCalのURLをコピーします。
カレンダーの公開状況によってコピーするURLが異なります。
・一般公開している場合は「iCal形式の公開URL」
・非公開の場合は「iCal形式の非公開URL」
Googleカレンダーのインポート
GoogleカレンダーのiCalが取得できたら、次にWP Booking Systemにそのカレンダーを同期します。
WP Booking Systemのメニューの「Calendar」をクリックします。下の方に「iCal Import/Export」とあるので、これをクリックします。
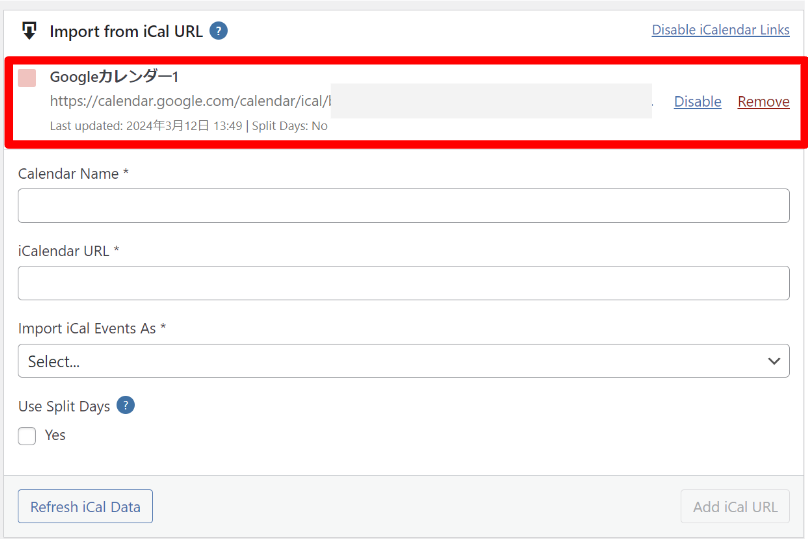
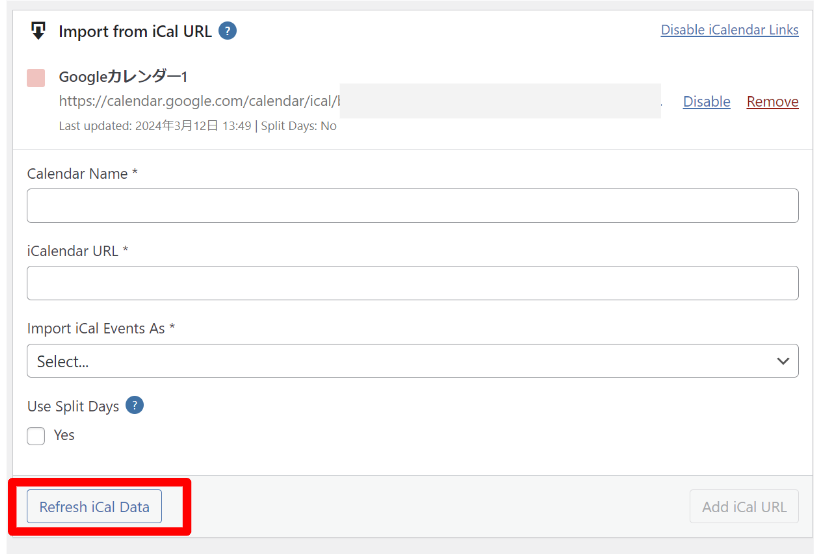
左下に「Import from iCal URL」があります。ここで設定を行います。
①カレンダーの名前、②GoogleカレンダーのiCal、③追加するときのステータスを選択します。設定ができたら「Add iCal URL」をクリックします。
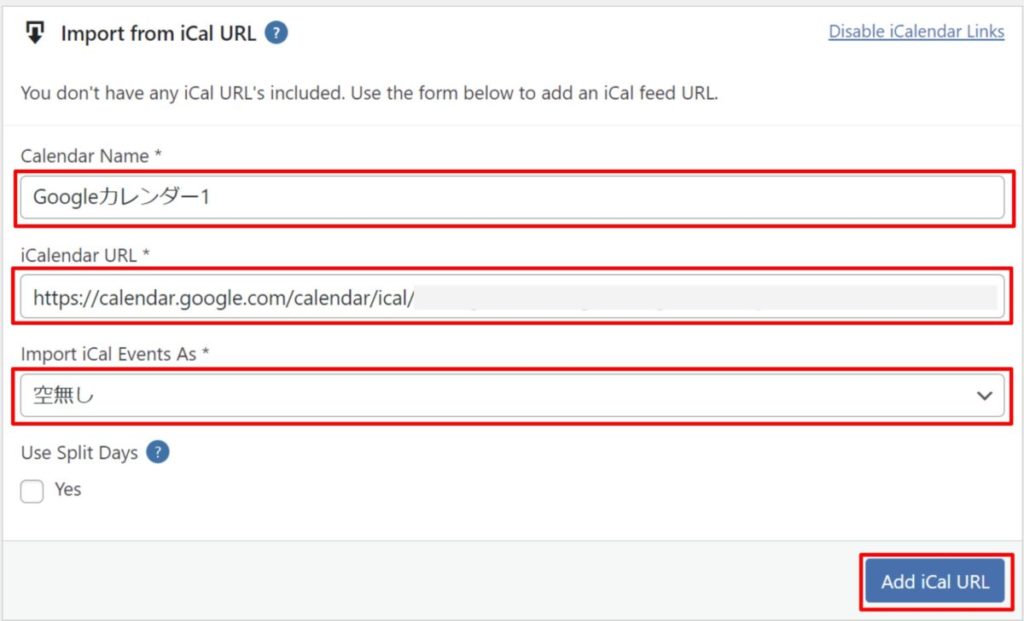
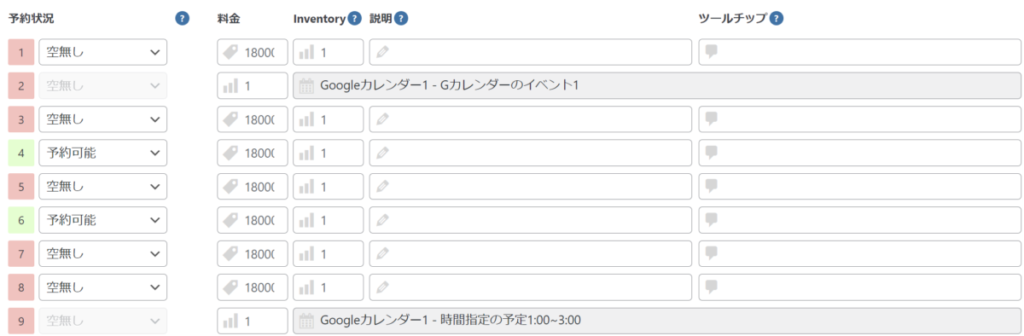
カレンダー名で指定した名前が、WP Booking Systemの説明の冒頭に表示されます。表示は以下のようになります。
「カレンダー名 – 予定タイトル」
▼実例

登録したカレンダーが上部に表示されます。
以上で設定は完了です。
Googleカレンダーは複数インポートできる
複数のステータス(Legend)がある場合の対処法
予定によっては「予約済み」や「イベント」など複数のステータス(Legend)でGoogleカレンダーの予定を追加したい場合があります。
WP Booking Systemは複数の外部のiCalendarの登録に対応しています。このため、Googleカレンダー上で対象となる複数の予定を作成することで解決できます。
Googleカレンダーにカレンダーを追加する方法
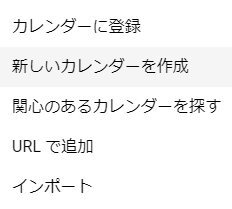
Googleカレンダーで専用のカレンダーを作成するには、「他のカレンダー」の横の「+」アイコンをクリックします。
「新しいカレンダーを作成」をクリックします。
「名前」と必要に応じて「説明」を入力して、「カレンダーを作成」をクリックします。
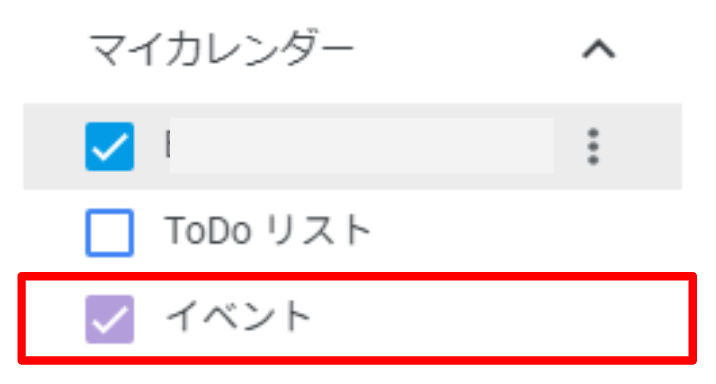
これで、対象のカレンダーが「マイカレンダー」に追加されます。
予定作成の注意点
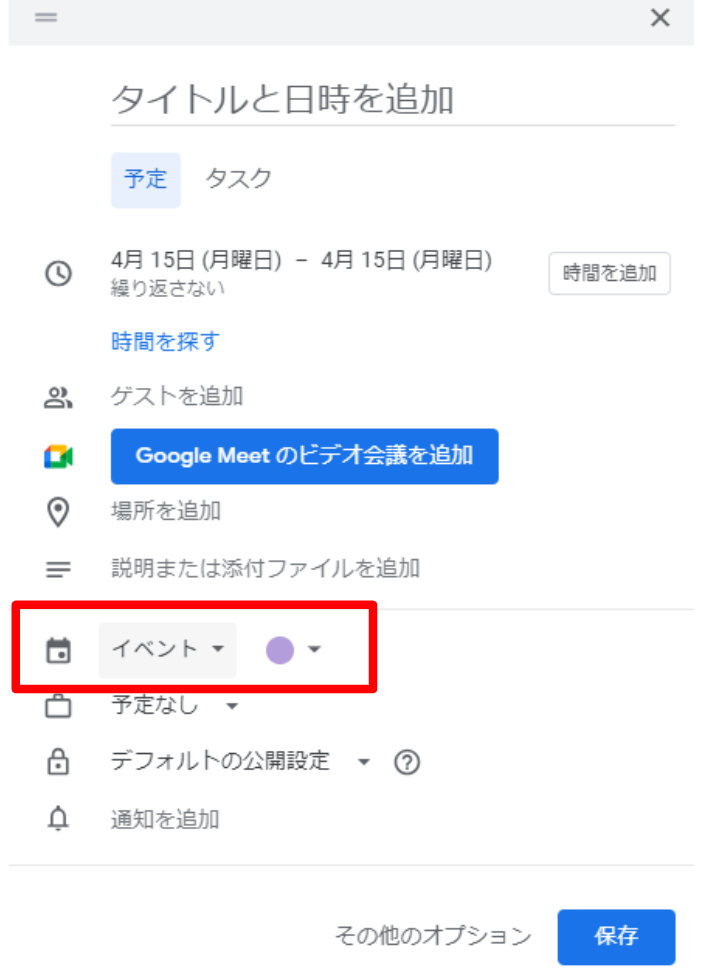
Googleカレンダーで予定を作成するときは、作成する予定が対象のカレンダーのものであることに注意してください。
デフォルトではマイカレンダーの中で✓が入っているものの中で一番上にあるカレンダーとなっています。プルダウンでこれを変更する必要があります。
Googleカレンダーの更新(反映・同期)
WP Booking Systemのデフォルトの設定ではGoogleカレンダーの変更を反映するのは「1時間おき」となっています。
なので、Googleカレンダー上で連携しているカレンダーを編集してもタイムリーに更新されません。
同期頻度の変更
この設定は変更できます。
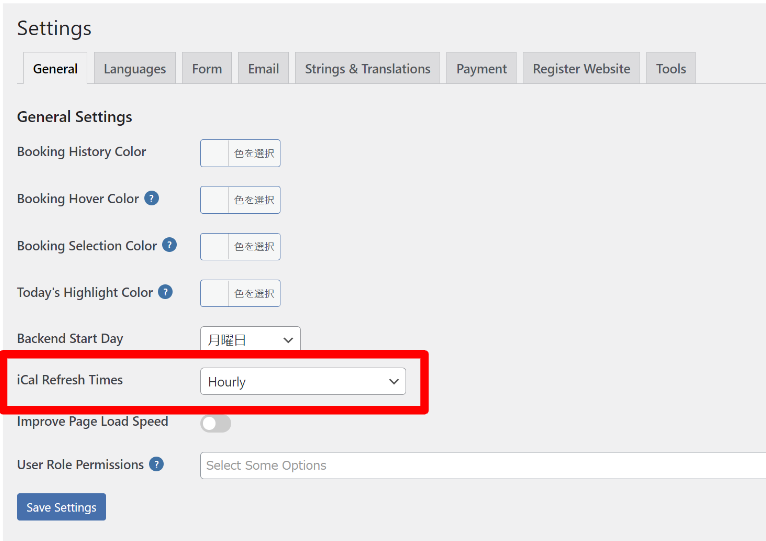
WordPress管理画面メニューの「Settings」の中の「General」タブをクリックします。
「iCal Refresh Times」という項目があり、ここで更新の頻度を変更することができます。
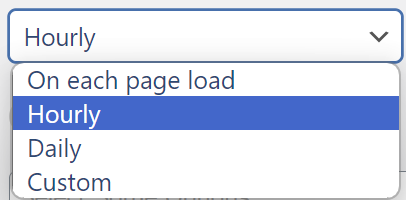
用意されているのは次の4つです。
- ページロード毎(On each page load)
- 1時間ごと(Hourly)
- 1日おき(Daily)
- カスタム(Custom)
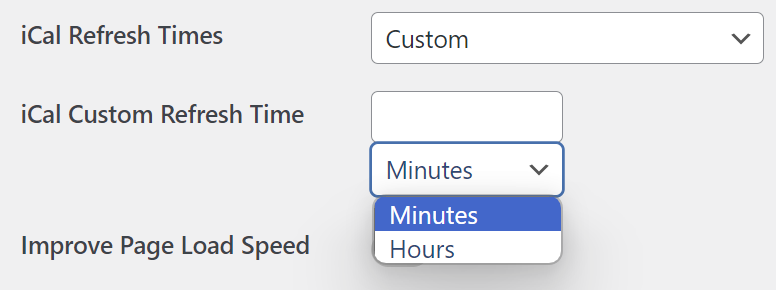
「カスタム」を選択すると、「〇時間」または「〇分」で好きな設定を指定することができます。
手動で更新する
自動更新以外にも手動で同期を行うこともできます。
インポートで使用した「Calendar」→「iCal Import/Export」に移動します。
「Import from iCal URL」の右下にある「Refresh iCal Data」をクリックすることで、手動更新できます。
以上で設定は完了です。