
WordPressでブログなどの投稿内容の一覧を表示させるときに、have_posts()やthe_post()といった関数が出てくる。これらの関数の役割と使い方について。
また、実際にhave_posts()やthe_post()を使って投稿一覧を表示する方法について解説。
have_posts()やthe_post()とは?
have_posts()やthe_post()は<?php ?>というPHPコードタグと合わせて使う。
have_posts()はDBから取得してきた投稿データが存在するときにはtrueを、存在しない場合にはfalseを返す関数。if文とwhile文と合わせて使われることが多い。
the_post()は次の投稿を取得して、それを「現在の投稿」としてセットアップし、ループの ‘in the loop’ プロパティを true にする関数。while文の中で使われることが多い。
どちらも引数(パラメータ)は指定しない。
実際のコード例1|PHPコードタグの中に記述する場合
have_posts()やthe_post()のどちらも投稿一覧を表示するために(ほぼ)決まった定型文の中で使われる。
<?php
if ( have_posts() ) :
	while ( have_posts() ) : the_post();
		// ループ内のコード
	endwhile;
else :
	echo wpautop( '投稿が見つかりませんでした。' );
endif;
?>
・<?php ?>
PHPコードタグ。この中に書かれた内容をPHPとして処理する。HTMLと組み合わせて使う。
・if ( 条件 ) : endif;
if文をカッコ{ }ではなく、コロン「:」と「endif;」で記述する書き方。if(条件){処理}と同じ。
・while (条件) : 処理 endwhile;
while文をカッコ{ }ではなく、コロン「:」と「endwhile;」で記述する書き方。while(条件){処理}と同じ。1行目の処理でthe_post()を実行することで、have_posts()の内容を次の投稿の存在に合わせて変更する。
・else:
if文の続き。if(条件): 処理 else: 処理 endif;
・wpautop()
引数で渡された文字列を表示する関数。改行がある場合は自動的に`<br>`を挿入する。
実際のコード例2|1行毎にPHPコードタグを使う
他の書き方として、HTMLタグのように1行ずつPHPコードタグを記述していく方法もある。
        <?php if ( have_posts() ) : while ( have_posts() ) : the_post(); ?>
            <?php //ループ内のコード ?>
        <?php else : ?>
          <?php echo wpautop( '投稿が見つかりませんでした。' ); ?>
        <?php endwhile; ?>
        <?php endif; ?>
投稿ページの主要テンプレート関数一覧
投稿一覧ページを作るときには投稿の中の欲しい情報を取得できる便利なテンプレートタグがある。コードを組む前にこれらは知っておく必要がある。
一つ一つの投稿に紐づく関数なのでトップページのループの中で使う。
| テンプレート関数 | 内容 |
| the_title() | タイトル |
| the_time() | 公開日時 |
| the_category() | カテゴリー |
| the_permalink() | URL |
| the_tags() | タグ |
| the_content() | 本文 |
| the_excerpt() | 本文の抜粋(110文字) |
| the_author() | 投稿者名 |
サムネイル(アイキャッチ)に関するテンプレート関数
サムネイル(アイキャッチ)に関するテンプレートタグも便利。
| テンプレート関数 | 内容 |
| the_post_thumbnail( $size, $attr ) | サムネイルを表示する |
| has_post_thumbnail() | サムネイルの有無を確認する(true or false) |
| get_the_post_thumbnail( $post_id, $size, $attr ) | 他の投稿のサムネイルを取得する(id番号で指定) |
実際の使用例は以下。サムネイルの存在確認をし、サムネイルがある場合のみ表示する
<?php
if ( has_post_thumbnail() ) { // 投稿にアイキャッチ画像が割り当てられているかチェックします。
	the_post_thumbnail('medium');
}
?>
・the_post_thumbnail( $size, $attr )
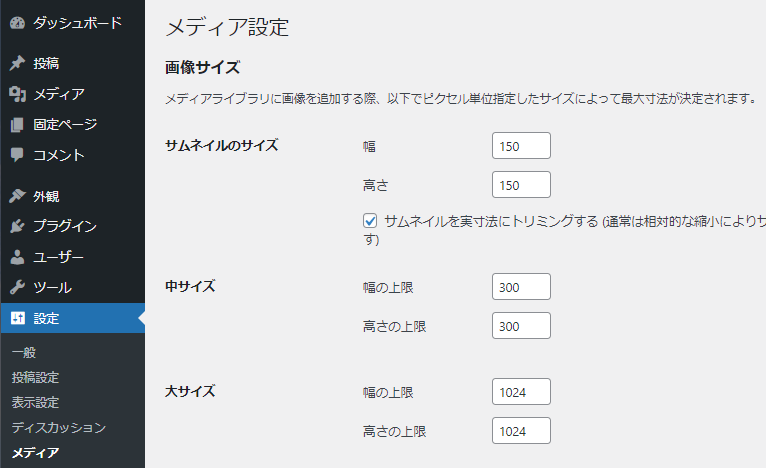
$sizeの指定方法は決められたサイズの文字列を入力するか、pxを指定する方法の2種類がある。
決められた文字列を入れる場合は、(1)thumbnail, (2)medium, (3)large, (4)full が選べる。指定がない場合はthubnailが適用される。
規定のサイズは「設定」>「メディア」から変更することができる。
画像のサイズを指定する場合は ( 横幅, 縦幅 ) で指定する。単位はpxで記述不要。
the_post_thumbnail( array( 100, 100 ) ); $attrはデフォルトで、src属性、class属性、alt属性が付与されている。
$default_attr = array(
	'src'   => $src,
	'class' => "attachment-$size",
	'alt'   => trim( strip_tags( $wp_postmeta->_wp_attachment_image_alt ) )
);
独自の属性を追加するには array(‘属性名’ => ‘値’) を第2引数にわたす。例えば、classの値を指定する場合は以下のようになる。
<?php the_post_thumbnail( 'thumbnail', array( 'class' => 'alignleft' ) ); ?><img class=”alignleft” >となる。
投稿一覧ページの作成例
テンプレート関数を活用して投稿一覧ページを作成すると以下のようになる。
<?php get_header(); ?>

<div>
    <section>
        <div class="headline">
            新着投稿の一覧ページ
        </div>
        <ul class="blogs-wrapper">
        <?php if ( have_posts() ) : while ( have_posts() ) : the_post(); ?>
            <li class="blog-wrapper">
                <a href="<?php the_permalink(); ?>">
                        <div>
                            <?php if(has_post_thumbnail()): ?>
                                <?php the_post_thumbnail('medium', array('class'=>'blog-img')); ?>
                            <?php else : ?>}
                                <img class="blog-img" src="<?php bloginfo('template_url') ?>/images/nophoto.jpg" alt="">
                            <?php endif; ?>
                        </div>
                        <div>
                                <div class="blog-title"><?php the_title(); ?></div>
                                <div class="blog-lead"><?php the_excerpt(); ?></div>
                        </div>
                </a>
            </li>
        <?php endwhile; ?>
        </ul>
        <?php endif; ?>
    </section>
</div>

<?php get_footer(); ?>
・bloginfo(‘template_url’)
bloginfo()はwordpressの管理画面で入力した情報を表示する関数。template_url はテーマのディレクトリURL。
例えば以下のようなディレクトリ構造であれば https://example.com/wp-content/themes/my-theme が表示される。
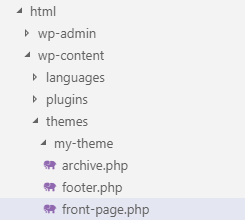
似た引数で、bloginfo(‘url’) がある。これは、「設定」>「一般」>「サイトアドレス」で登録した内容(ドメイン名)を呼び出す。
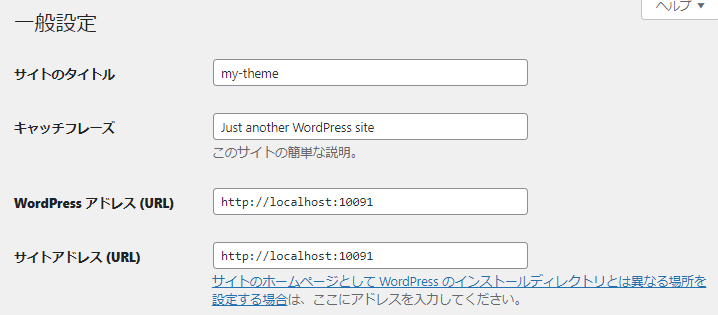
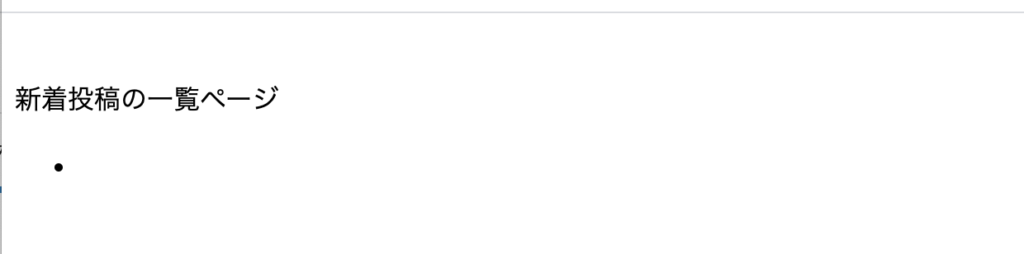
この状態でブラウザを確認すると、以下のように冒頭divタグの中の文字のみが表示される。ここに表示する投稿を作成する。
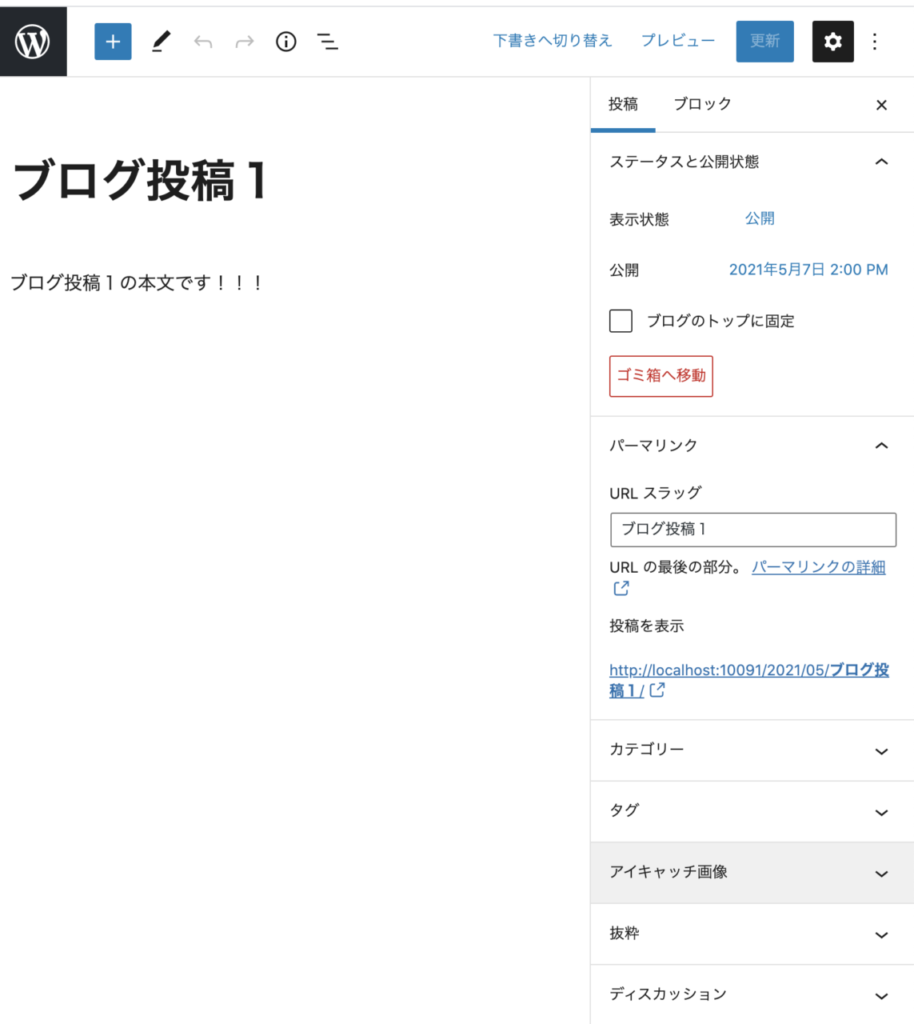
アイキャッチ画像項目の有効化
デフォルトではアイキャッチ画像項目がないので、functions.phpに以下を追記する。
<?php

function custom_theme_setup() {
    add_theme_support( 'post-thumbnails' );
}
add_action( 'after_setup_theme', 'custom_theme_setup' );
これで、投稿の右カラムにアイキャッチ画像の項目が表示されるようになる。
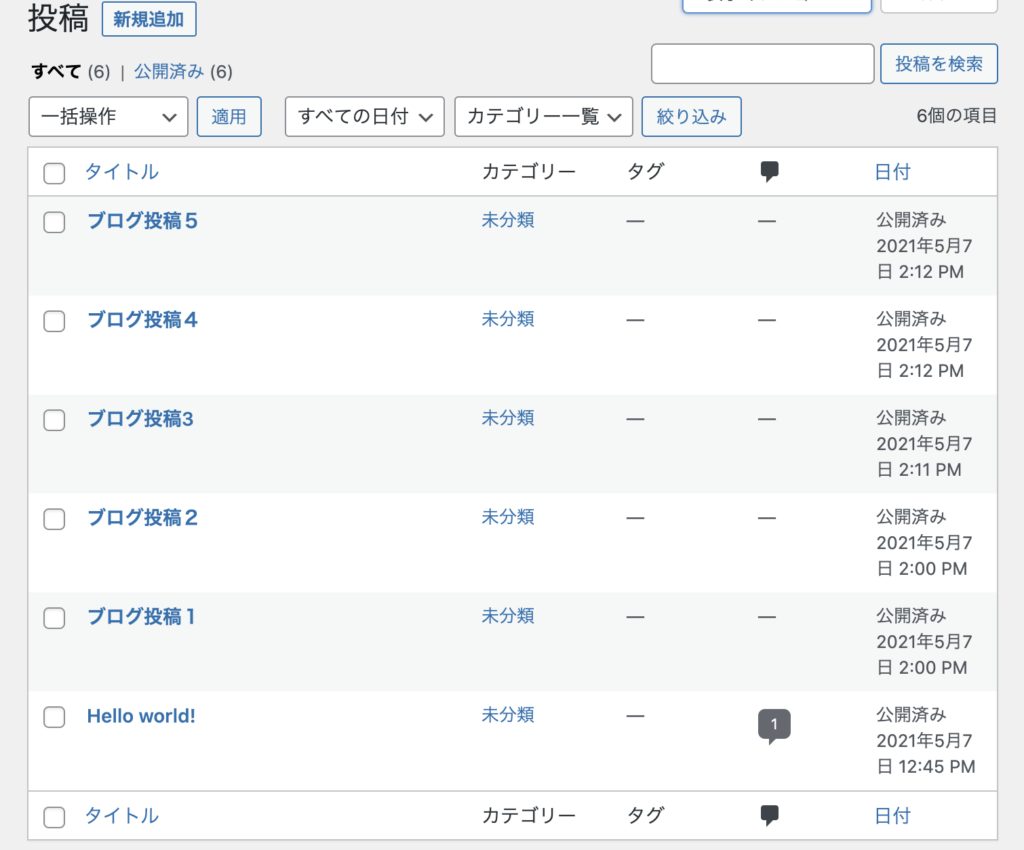
投稿の作成
投稿を適当に5個ほど作成する。
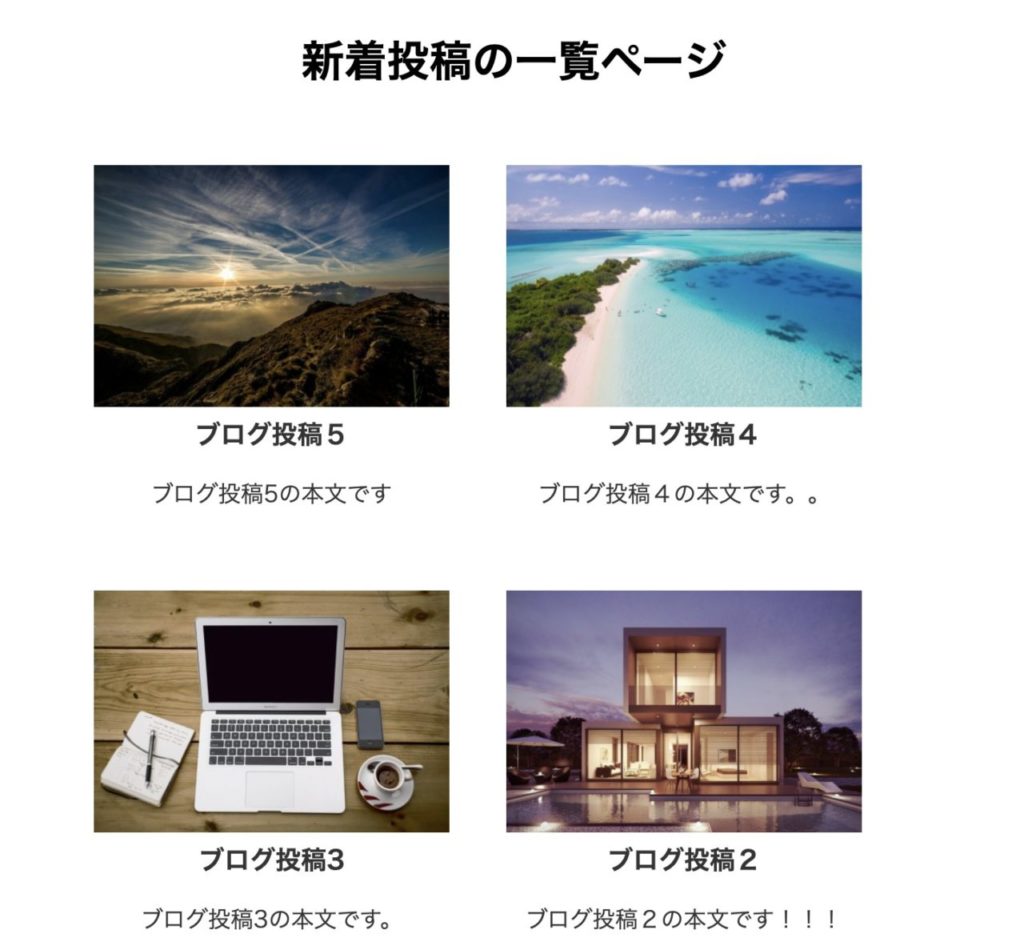
この状態で、再度、ブラウザでトップページをリロードする。以下のように投稿一覧が表示されればOK。
※注意点:phpインクルードタグにスペルミスがあると読み込みが途中で止まる。

コードで記述したとおり、the_post_thumbnail(‘medium’)、the_title()、the_excerpt()が表示されている。
スタイルの調整
スタイルシートは便利なscssを使う。コンパイルするためにプラグイン SCSS-Libraryを有効化する。
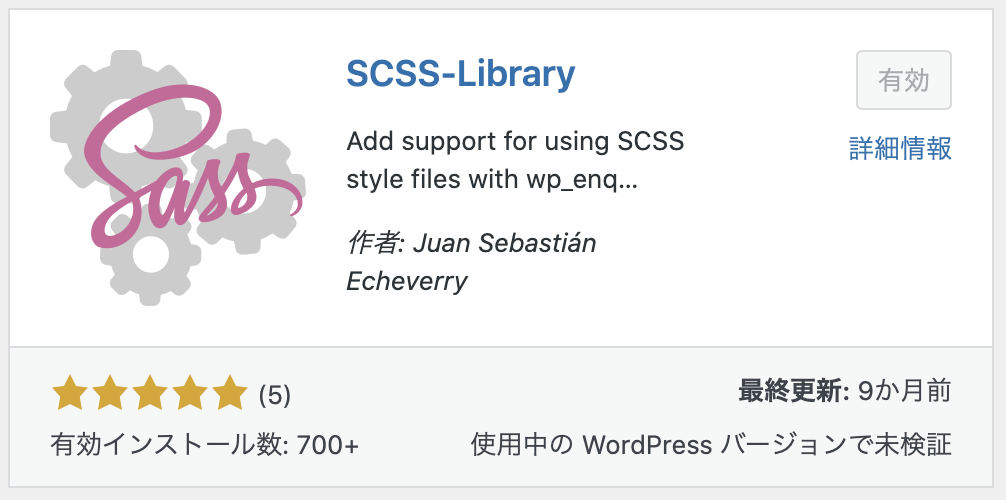
使い方は有効化し、普通のcssファイル同様にwp_enqueue_styleで、scssファイルを読み込むだけ。(簡単便利)
スタイルシートの読み込み設定
front-page.php専用のスタイルシート、front-style.scssを作成しfunction.phpで読み込む。
html > wp-content > themes > テーマ名 > front-style.scss
function addtional_styles() {
  if( is_front_page() ){
    wp_enqueue_style( 'front-css', get_template_directory_uri() . '/front-style.scss' );
  }
}
add_action( 'wp_enqueue_scripts', 'addtional_styles' );スタイルを個別ページにのみ追加するコードの詳細はWordPressで特定のページにのみcssを適用する方法を参照
スタイルの調整
適宜スタイルを調整。
.headline{
  margin: 30px auto;
  font-weight: bold;
  font-size: 30px;
  text-align: center;
  max-width: 1000px;
}

.blogs-wrapper{
  margin: 0 auto;
  list-style: none;
  display: flex;
  max-width: 1000px;
  flex-wrap: wrap;
}

.blog{
  &-wrapper{
  display: flex;
  flex-direction: column;
  text-align: center;
  width: 250px;
  margin: 20px;
  }
  &-img{
    max-width: 100%;
    height: 170px;
  }
  &-title{
    font-size: 18px;
    font-weight: bold;
  }
}

a{
  text-decoration: none;
}
a:link, a:visited, a:hover, a:active {
  color: #333;
}
ブラウザで表示を確認
トップページをリロードし、スタイルが反映されることを確認。
いい感じのレスポンシブになりました。
投稿個別ページのレイアウト調整
各投稿のリンク先である個別ページのレイアウトは signle.php で調整する。
html > wp-content > themes > テーマ名 > single.php
例えば、以下のようなコードを設置。
<?php get_header(); ?>

<main class="container">
  <time class="blog-date" datetime="<?php the_time('Y-m-d'); ?>" >
    <?php the_time('Y年m月d日'); ?>
  </time>
  <?php if ( have_posts() ) : while ( have_posts() ) : the_post(); ?>
    <div>
        <?php if(has_post_thumbnail()): ?>
            <?php the_post_thumbnail('medium', array('class'=>'blog-img')); ?>
        <?php else : ?>}
            <img class="blog-img" src="<?php bloginfo('template_url') ?>/images/nophoto.jpg" alt="">
        <?php endif; ?>
    </div>
    <div>
            <div class="blog-title"><?php the_title(); ?></div>
            <div class="blog-lead"><?php the_excerpt(); ?></div>
    </div>
    <section>
      <div>
        <span><?php previous_post_link('%link','<< 前の記事'); ?></span>
        <span><?php next_post_link('%link','次の記事 >>'); ?></span>
      </div>
      <div>
        <a href="<?php echo home_url() ?>">TOPに戻る</a>
      </div>
    </section>
  <?php endwhile; ?>
  <?php endif; ?>
</main>

<?php get_footer(); ?>
スタイルシートを設置
以下のようなスタイルシートを作成。
html > wp-content > themes > my-theme > css > blog-style.scss
.container{
  margin: 40px auto;
  text-align: center;
  max-width: 1000px
}

.footer-container{
  max-width: 1000px;
  text-align: center;
  margin-top: 100px;
  color: rgb(153, 153, 153);
}

.blog{
  &-date{
  font-size: 10px;
  color:rgb(153, 153, 153);
  }
  &-title{
    font-size: 20px;
    font-weight: bold;
  }
}

a{
  text-decoration: none;
}
functions.phpで読み込ませる。
function addtional_styles() {
  if( is_front_page() ){
    wp_enqueue_style( 'front-css', get_template_directory_uri() . '/css/front-style.scss' );
  }
  if( is_single($post) ){
    wp_enqueue_style( 'blog-css', get_template_directory_uri() . '/css/blog-style.scss' );
  }
}
add_action( 'wp_enqueue_scripts', 'addtional_styles' );
is_single()はsingle.phpであればtrueを返す。引数に$postを指定すると、現在表示通のページにのみtrueになる。
ページをリロードして完了。
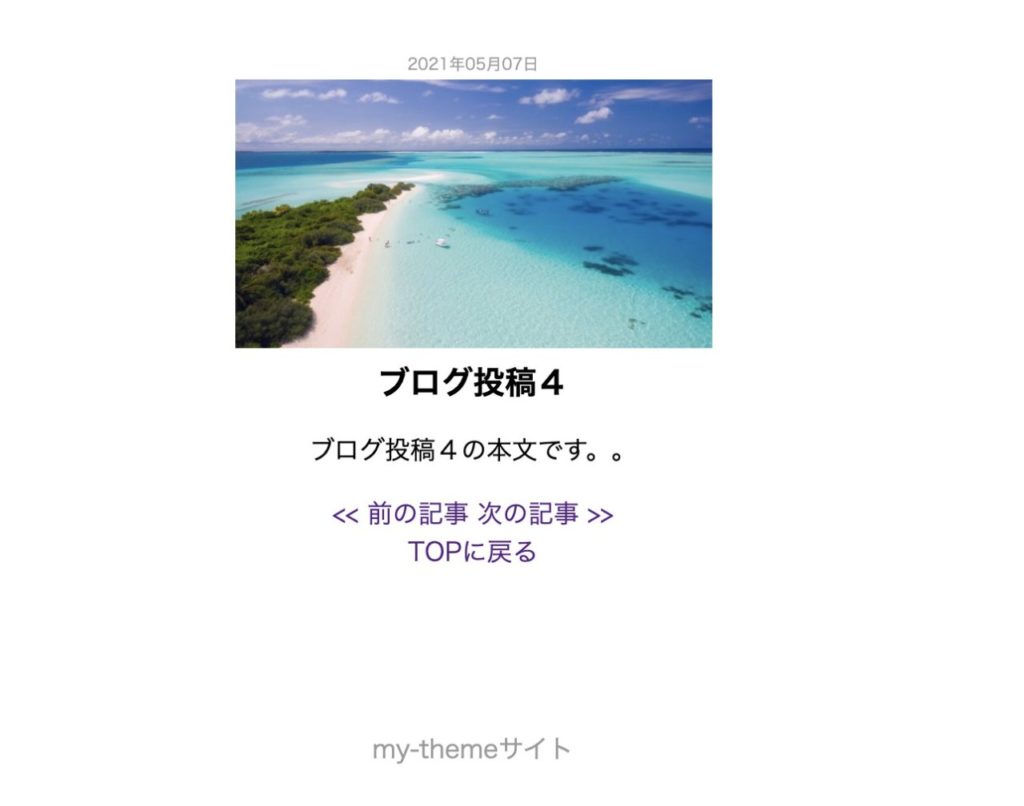
投稿の個別ページも無事表示された。