

Affinity Photoを使うと写真の中に写っているパソコン(PC)やスマホの画像、テレビ画面、大型スクリーンなどの画像を他の画像に簡単に差し替えることができます。
ここではその方法について実例で解説しています。
スクリーン画像の差し替え手順
最初に大まかな手順を記載しておきます。
- 元の画像と差し替え後の画像を用意する。
- 選択ブラシツールを使ってスクリーンを切り抜く。
- 背景画像のパースペクティブを調整する。
- クリッピングマスクで、背景画像を差し替える。
- 元の画像と重ね合わせる。
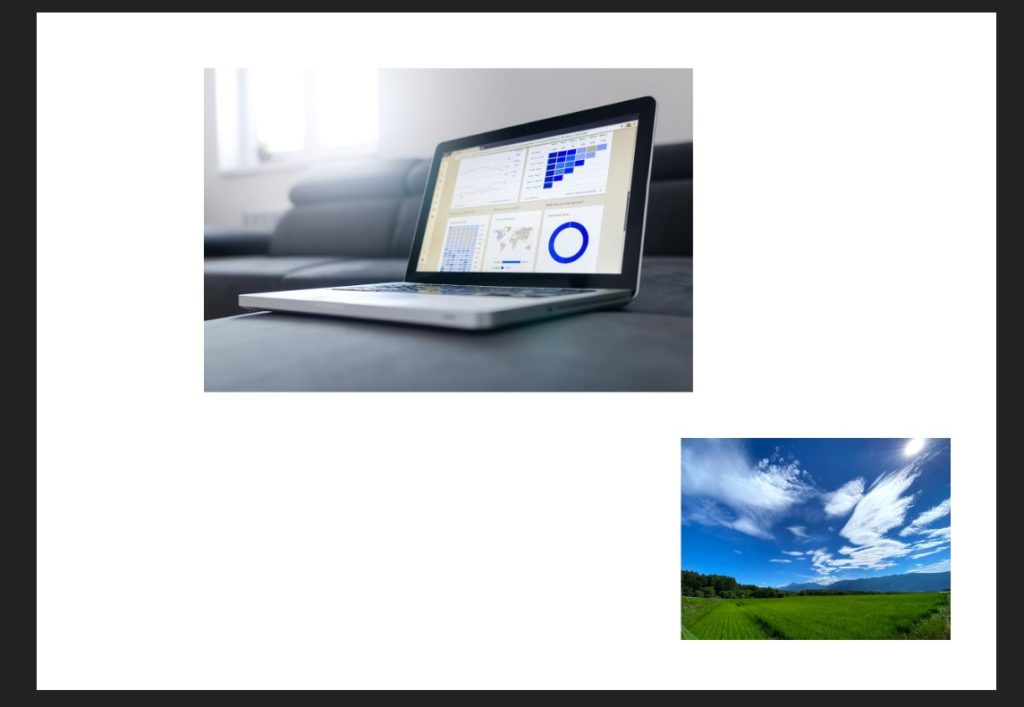
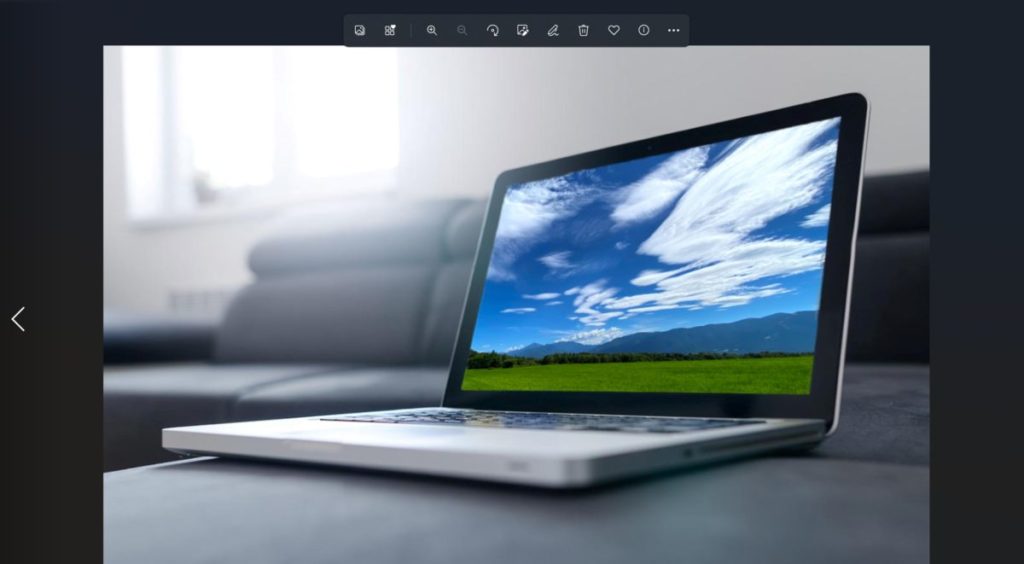
スクリーン画像の差し替え完成例
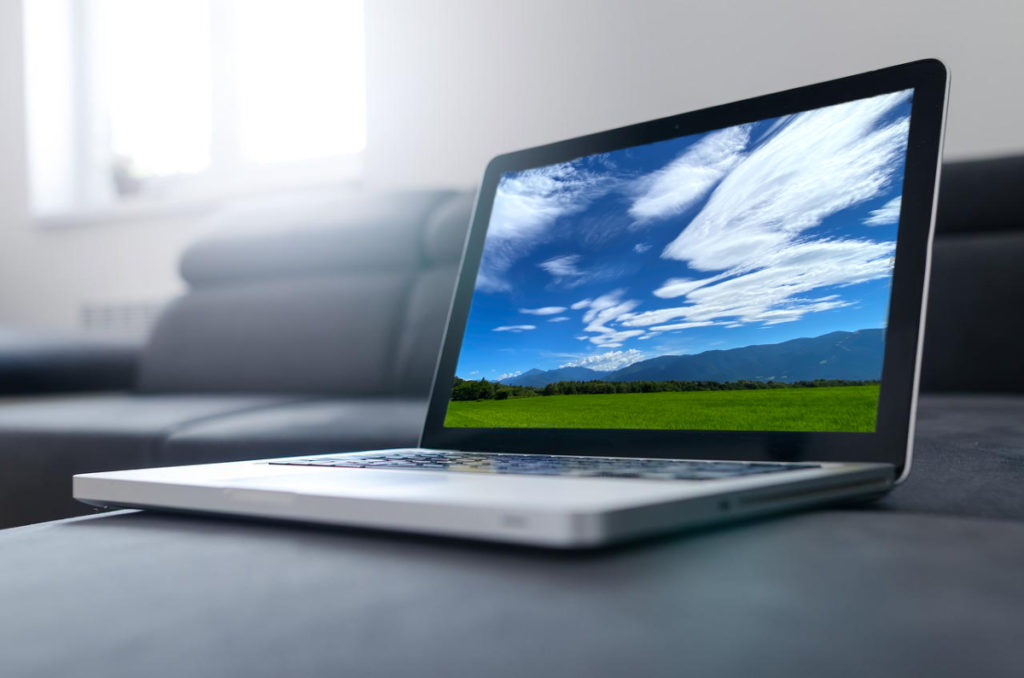
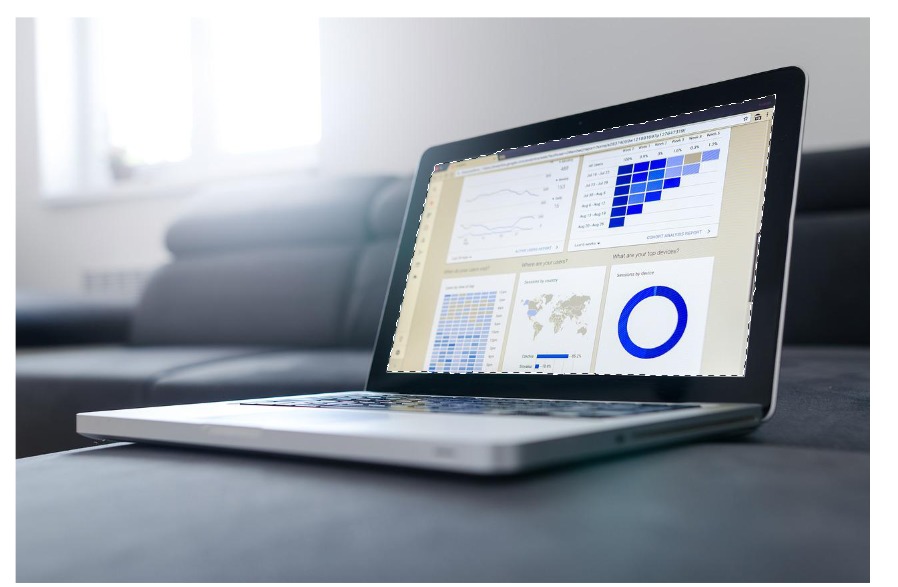
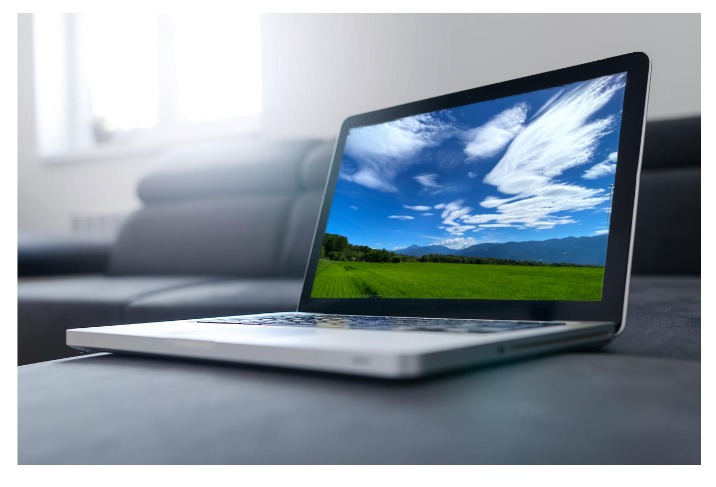
以下のようなノートパソコンに写っているデータグラフを自然の写真に差し替えます。
Before

After
元の画像と差し替え後の画像を用意する
実際のやり方について解説していきます。
まずは、元の画像と差し替え後の画像を用意します。まっさらなキャンバスを作成して、画像をドラッグ&ドロップします。
新しいキャンバス(新規ドキュメント)の作成方法については下記をご参考ください。サイズや向き、透過など作成時に色々と細かい調整が可能です。
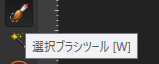
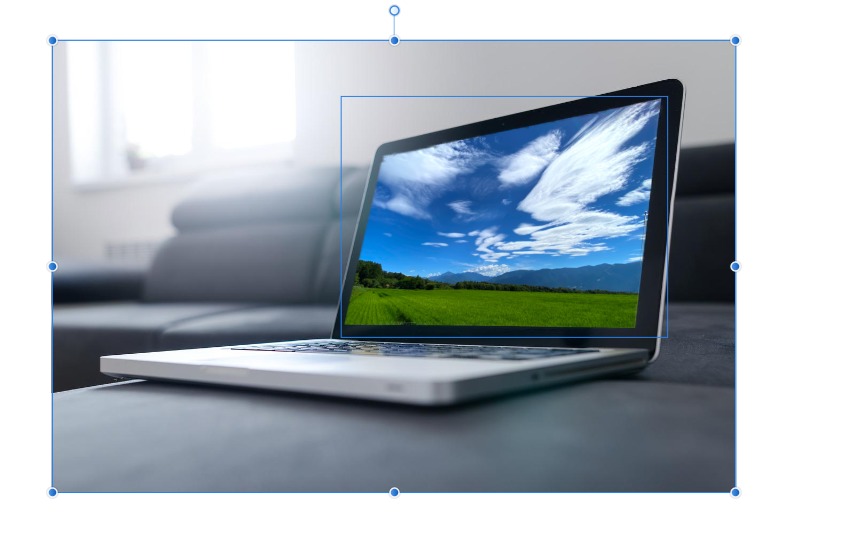
選択ブラシツールを使ってスクリーンを切り抜く
スクリーンの選択
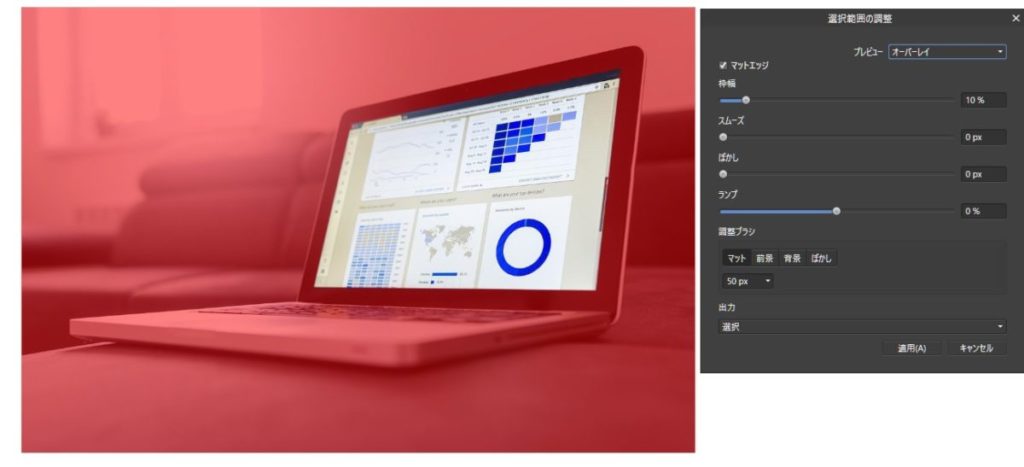
続いて「選択ブラシツール」を使ってスクリーンを選択状態にします。
ブラシの幅を調整し選択していきます。隅などの細かいところは、ブラシの幅を小さくし、画面をズームすると選択しやすくなります。

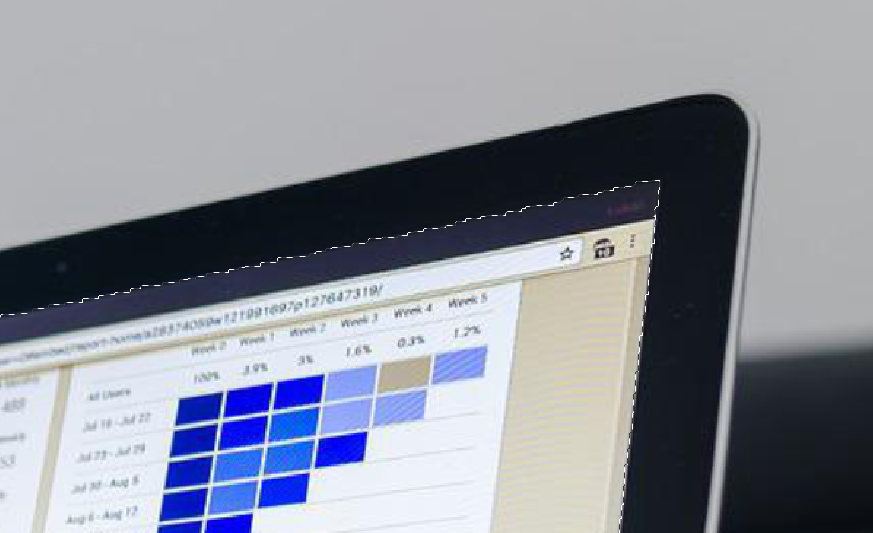
切り抜くときに自動でスムーズにできるので輪郭が多少カクカクしていても問題ありません。
選択範囲がはみ出してしまった場合は、「減算」をクリックして、はみ出した範囲をなぞります。

選択後は以下のようになります。
スクリーンの切抜き(レイヤーとして)
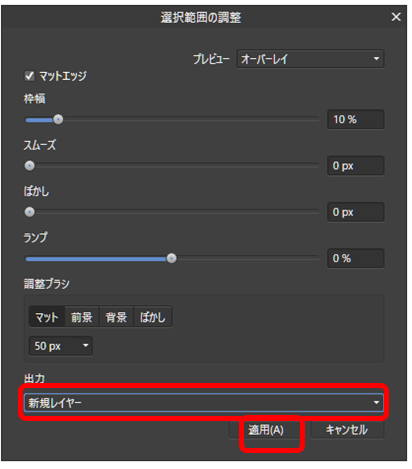
スクリーン部分を新しレイヤーとして切り抜いていきます。
メニュー上部の「調整」をクリックします。

すると画面が以下のような状態になります。
出力で「新規レイヤー」を選択して、「適用」をクリックします。
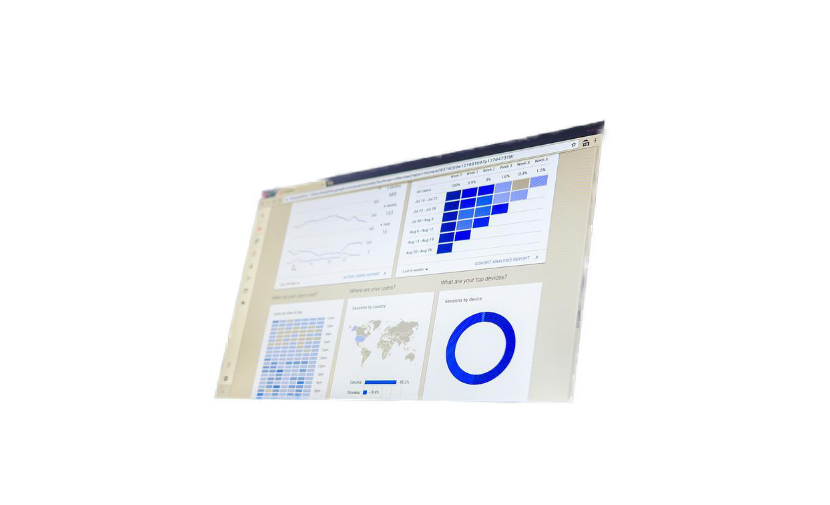
以上で、スクリーンのみをキレイに抜き取ることができました。
Affinity Photoで画像を切り抜いたり、細かい調整をする方法については下記をご参考ください。
背景画像のパースペクティブを調整する
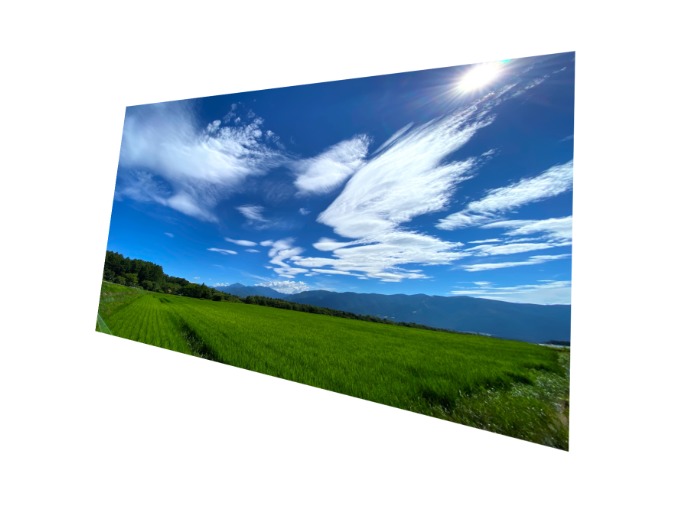
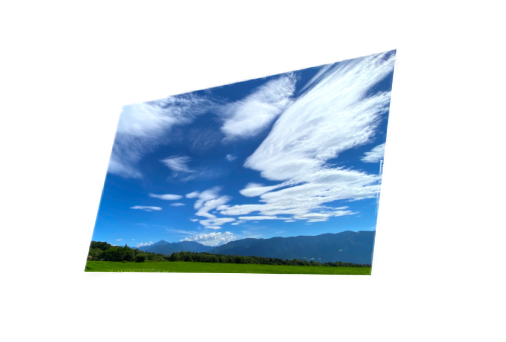
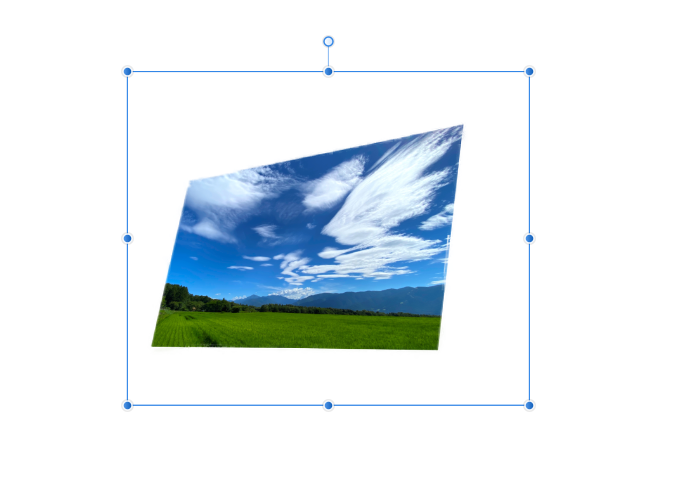
次に、ノートパソコンのスクリーンに投影したい画像のパースペクティブ(奥行)を調整します。
画像を選択して、上部メニューの「フィルター」から「ゆがみ」の中の「パースペクティブ」を選択します。
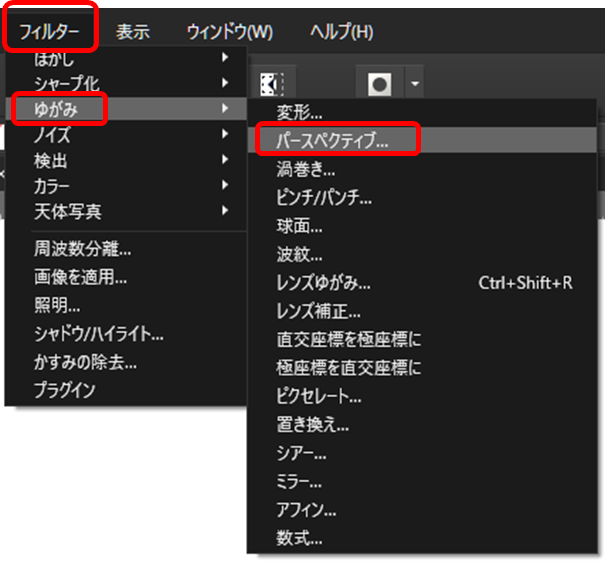
画像の四隅に表示されるグレーの四角をドラッグして、パースペクティブを調整します。ここでは先ほど切り抜いたスクリーンの形状に合わせます。

完成したら「適用」をクリックします。
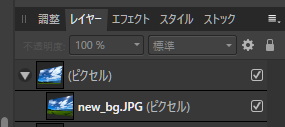
これで、スクリーンの形状にあった投影画像の作成が完了です。
クリッピングマスクで、背景画像を差し替える
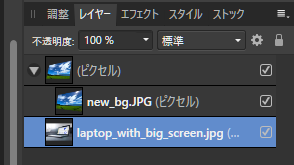
続いて、先ほど切り抜いたノートパソコンのスクリーンの画像を、新しく投影する背景画像と差し替えます。
ノートパソコンのスクリーンを背景画像の上に重ねます。
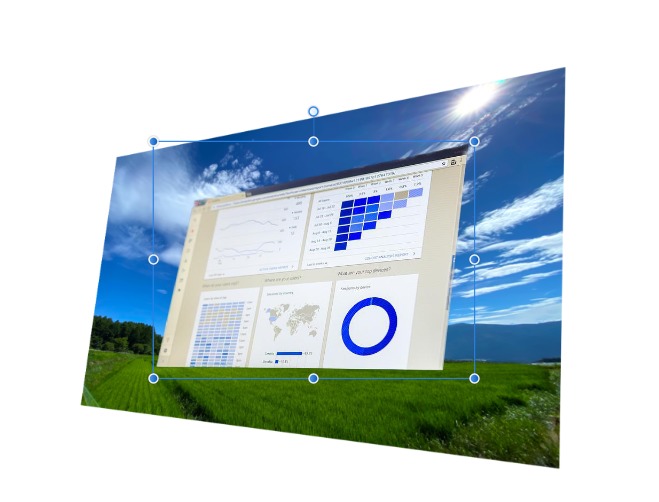
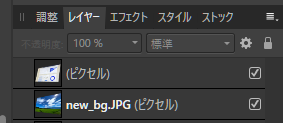
続いて、右側のレイヤー一覧で、新しい背景画像を、スクリーンの中に入れます(クリッピングマスク)
↓ クリッピングマスク
するとスクリーンのは背景画像が置き換わります。
背景画像のサイズや位置を調整したい場合は「移動ツール」を選択後に、レイヤーで背景画像を選択して、調整を行います。
これでスクリーン投影用の画像が完成です。
元の画像と重ね合わせる
スクリーンを切り抜いて新しいレイヤーを作成したときに、もともとのノートパソコンの画像が非表示になっているので、チェックマークを入れて表示します。
表示されたノートパソコンの画面上に、先ほど作成した画像を重ね合わせます。
重ね合わせる際、わずかに拡大するとキレイに重なりあいます。
以上で完了です。
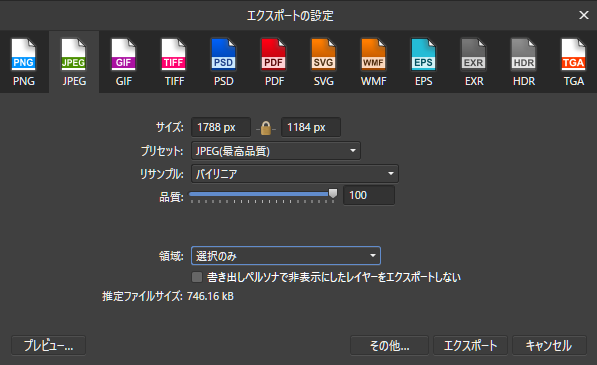
画像として保存する
全ての画像を選択します。
この状態で「shift + ctrl + alt + s」をクリックします。
エクスポートの設定が開くので、拡張子を選び、領域を「選択のみ」にして「エクスポート」をクリックすれば、画像として保存できます。
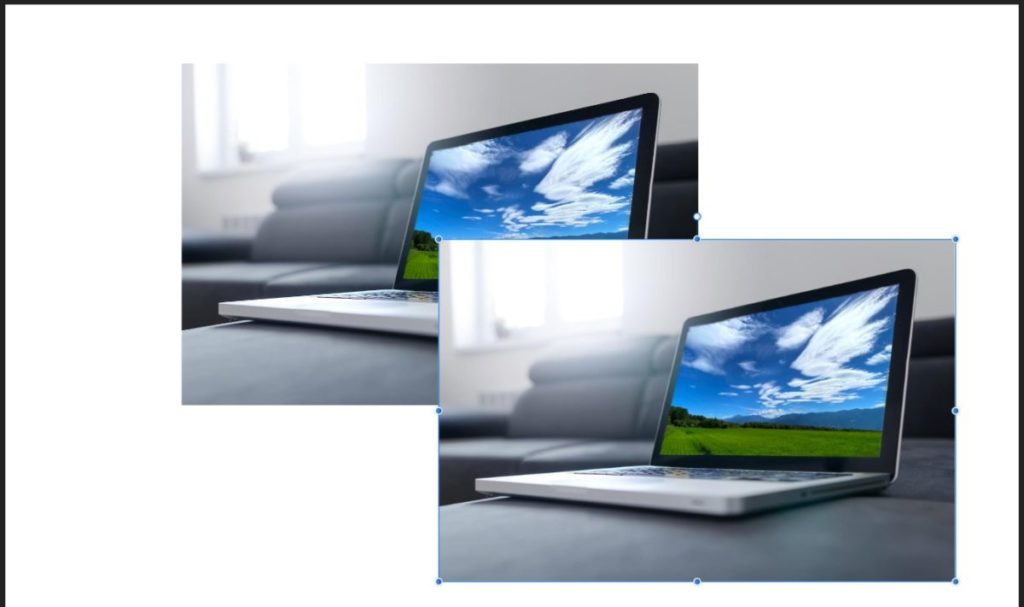
書き出した画像をフォトビューアーで確認
いい感じにスクリーンが置き換わっています。
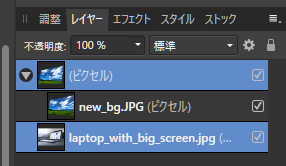
Affinity Photo上で結合して1つの画像(レイヤー)を作成する
上記の状態ではAffinity Photo上ではそれぞれのレイヤーがバラバラです。
Affinity Photo上でそれぞれのレイヤーを結合して1枚のレイヤー(画像)とすることもできます。
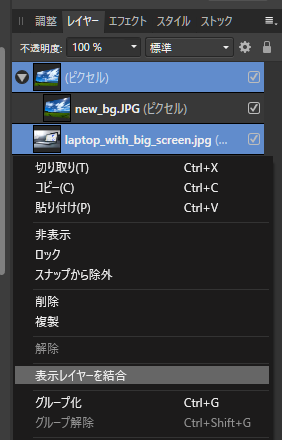
結合したい画像を選択します。
右メニューで結合したいレイヤーを選択し、右クリックします。
「表示レイヤーを結合」というメニューが表示されるので、クリックします。
すると、新たに結合後のレイヤーが追加されます。
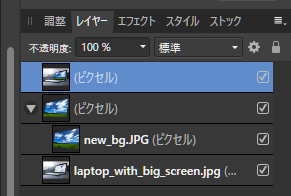
画面上でも結合したレイヤーがあることがわかります。
以上で完了です。