Firebase Authenticationのメールリンク認証やパスワードリセットでは、標準の味気ないウィジェット画面が表示されてしまい、ユーザーが不信感を抱く原因になることがあります。
本記事では、Firebaseが用意したデフォルトのページを使わず、完全に自作した独自のカスタムページ(Next.jsやReact、Vueなど)へユーザーをリダイレクトさせ、ブランドの世界観を崩さずに認証を完結させる方法を、具体的なステップとコード例で紹介しています。
【STEP1】認証用のページを作成する
まずは、デフォルトの認証ページの代わりになる、ページをアプリ上に作成します。
// app/(system)/auth/page.tsx
"use client";

import { useEffect, useState } from "react";
import { useSearchParams } from "next/navigation";
import { getAuth, applyActionCode } from "firebase/auth";

type Status = "loading" | "success" | "error" | "invalid";

const CONFIG: Record<Status, { title: string; message: string; icon: string; color: string }> = {
  loading: { title: "確認中",       message: "メールアドレスを確認しています...",                           icon: "",  color: "text-blue-400" },
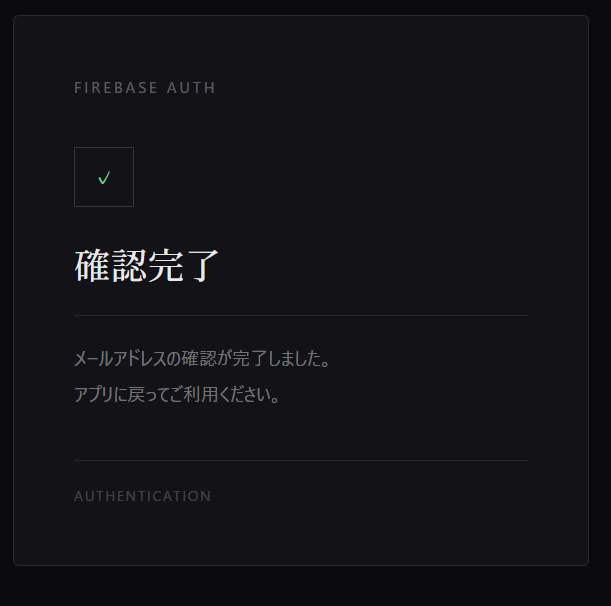
  success: { title: "確認完了",     message: "メールアドレスの確認が完了しました。\nアプリに戻ってご利用ください。", icon: "✓", color: "text-emerald-400" },
  error:   { title: "エラー",       message: "リンクが無効または期限切れです。\n再度メールをご確認ください。",   icon: "✕", color: "text-red-400" },
  invalid: { title: "無効なリクエスト", message: "このページへのアクセス方法が正しくありません。",               icon: "!", color: "text-amber-400" },
};

export default function AuthActionPage() {
  const searchParams = useSearchParams();
  const [status, setStatus] = useState<Status>("loading");

  useEffect(() => {
    const mode = searchParams.get("mode");
    const oobCode = searchParams.get("oobCode");
    if (!mode || !oobCode) { setStatus("invalid"); return; }

    const auth = getAuth();
    (async () => {
      try {
        if (mode === "verifyEmail" || mode === "recoverEmail") {
          await applyActionCode(auth, oobCode);
          setStatus("success");
        } else {
          setStatus("invalid");
        }
      } catch {
        setStatus("error");
      }
    })();
  }, [searchParams]);

  const { title, message, icon, color } = CONFIG[status];

  return (
    <div className="min-h-screen bg-[#0a0a0f] flex items-center justify-center p-6">
      <div className="w-full max-w-sm border border-white/10 bg-white/[0.03] rounded-sm p-10 animate-fade-up">
        {/* ラベル */}
        <p className="text-[10px] tracking-[0.2em] uppercase text-white/30 mb-8">
          Firebase Auth
        </p>

        {/* アイコン */}
        <div className={`w-10 h-10 border border-white/15 flex items-center justify-center mb-6 ${color}`}>
          {status === "loading"
            ? <span className="w-4 h-4 border border-blue-400/30 border-t-blue-400 rounded-full animate-spin" />
            : <span className="text-sm">{icon}</span>
          }
        </div>

        {/* タイトル */}
        <h1 className="font-serif text-2xl font-medium tracking-wide text-white/90 mb-4">
          {title}
        </h1>

        <hr className="border-white/10 mb-4" />

        {/* メッセージ */}
        <p className="text-xs leading-loose text-white/40 whitespace-pre-line">
          {message}
        </p>

        {/* フッター */}
        <div className="mt-8 pt-4 border-t border-white/10 flex items-center justify-between">
          <span className="text-[9px] tracking-[0.15em] uppercase text-white/20">Authentication</span>
          <span className={`w-1.5 h-1.5 rounded-full ${color} ${status === "loading" ? "animate-pulse" : ""}`} />
        </div>
      </div>
    </div>
  );
}
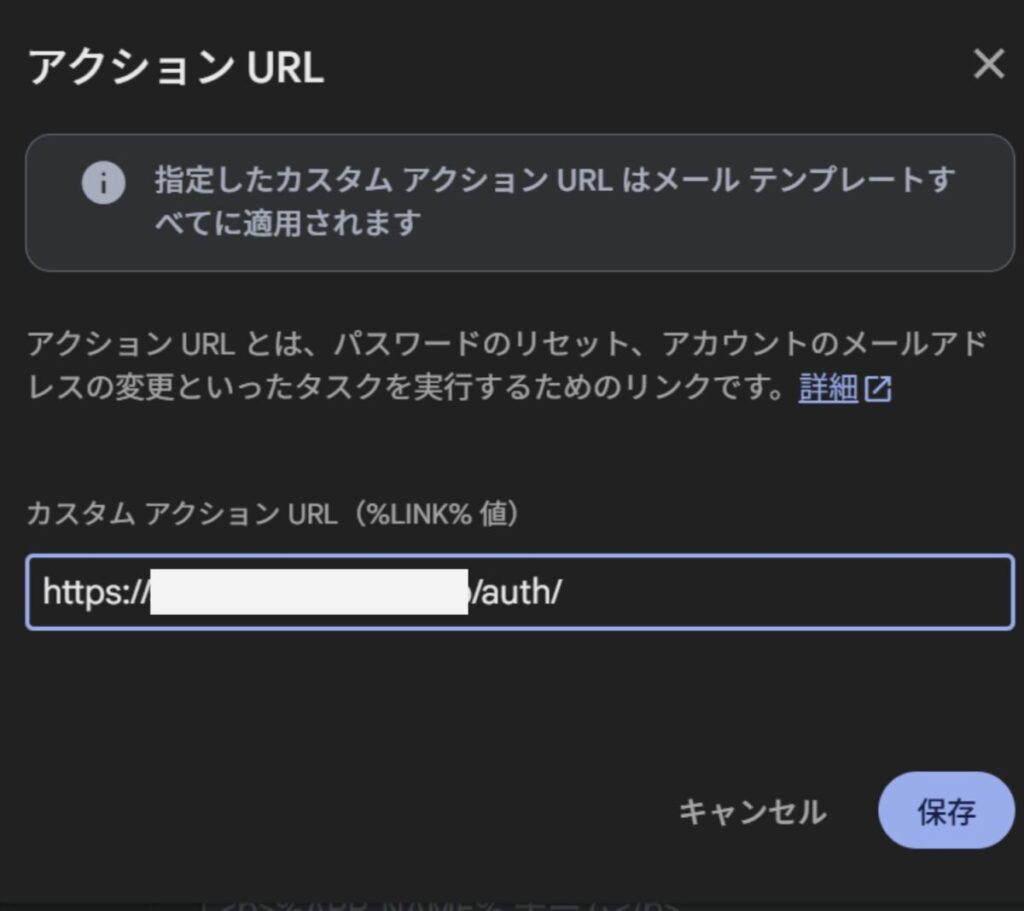
【STEP2】アクションURLをセットする
Firestoreのコンソールに入り、「Authentication > テンプレート」へと進みます。
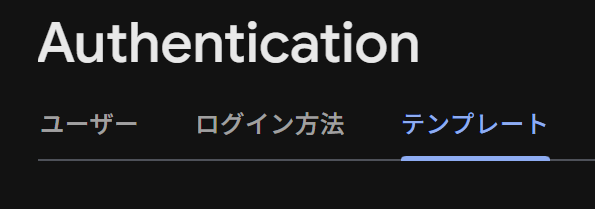
どれでもいいのでテンプレートを1つ開き、鉛筆マークをクリックします。
右下に「アクションURLをカスタマイズ」と表示されるのでこれをクリックします。
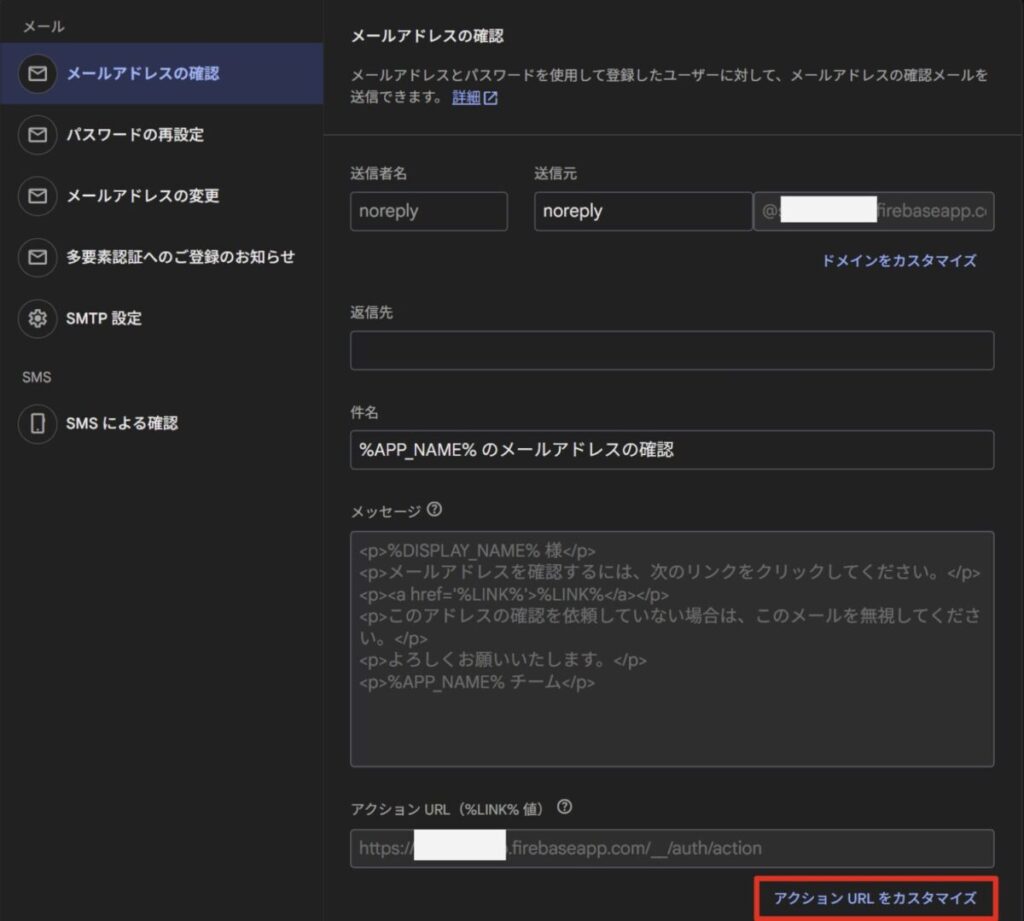
先ほど作成したページのURLを貼り付け「保存」をクリックします。
【STEP3】認証済みドメインに対象のドメインを追加します
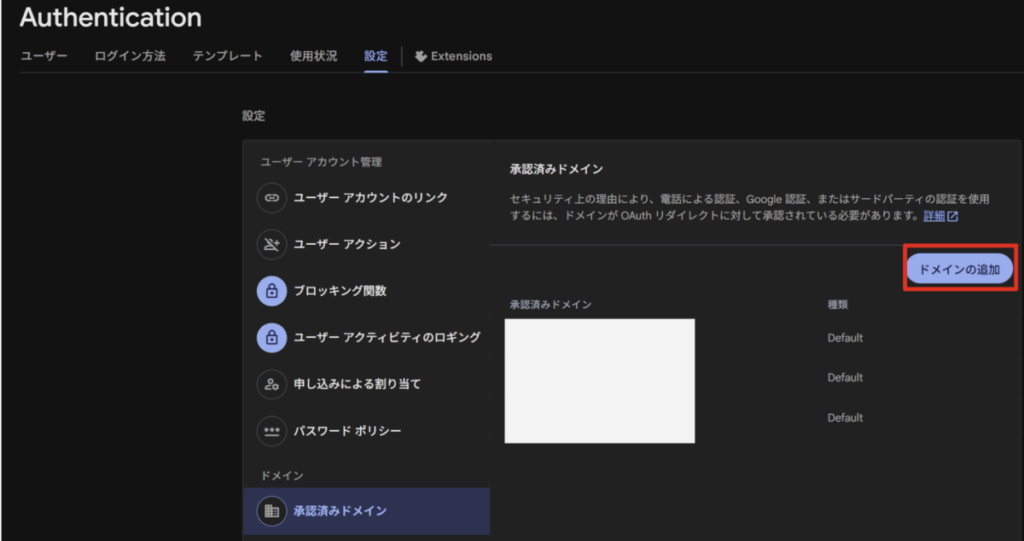
「Authentication > 設定 > 認証済みドメイン」に進みます。
ここに、対象のドメインを追加します。
【STEP4】デプロイして確認
変更内容をデプロイします。
firebase deploy --only hosting新規登録して、届いたメールのURLをクリックします。
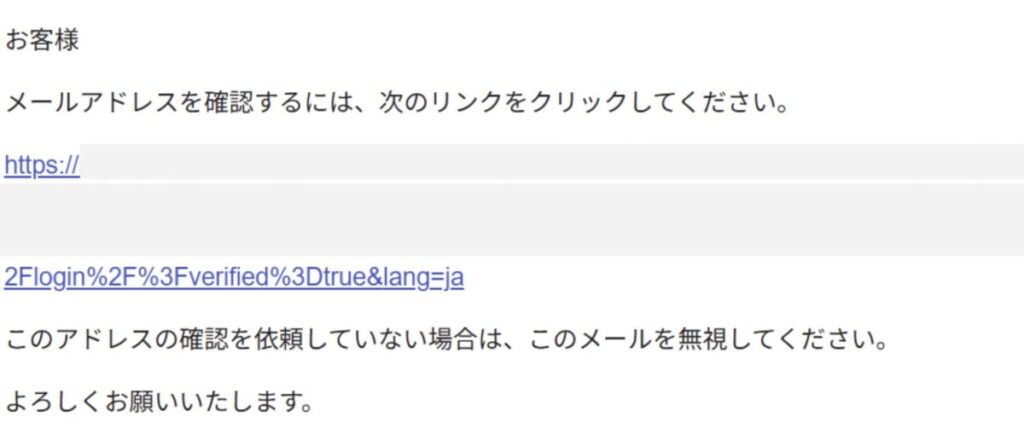
URLをクリックすると、先ほど作成した専用のページが表示され、authの認証が完了します。