LINEの友達のユーザーIDは通常のアカウントから確認することはできません。
ユーザーIDを確認するには、LINEのボットを作成し、何かメッセージが送られたら、その人のユーザーIDを返すことで確認する方法があります。
設定の流れ
LINEで友だちの登録情報をスプレッドシートに自動で記録するには(LINE Messaging APIを利用する必要があります。
大まかな流れは以下のようになります。
- Messaging APIのチャネルを作成(LINE Official Account Manager)
- チャネルアクセストークンの発行(LINE Developers)
- GASでプログラムを作成
- Webhook URLを生成して登録する
- メッセージを送信する
Messaging APIのチャネル作成(LINE Official Account Manager)
まずは、Messaging APIのチャネルを作成します。
通常の公式LINE(LINE Official Account Manager)にログインし、対象となるアカウントを選択します。
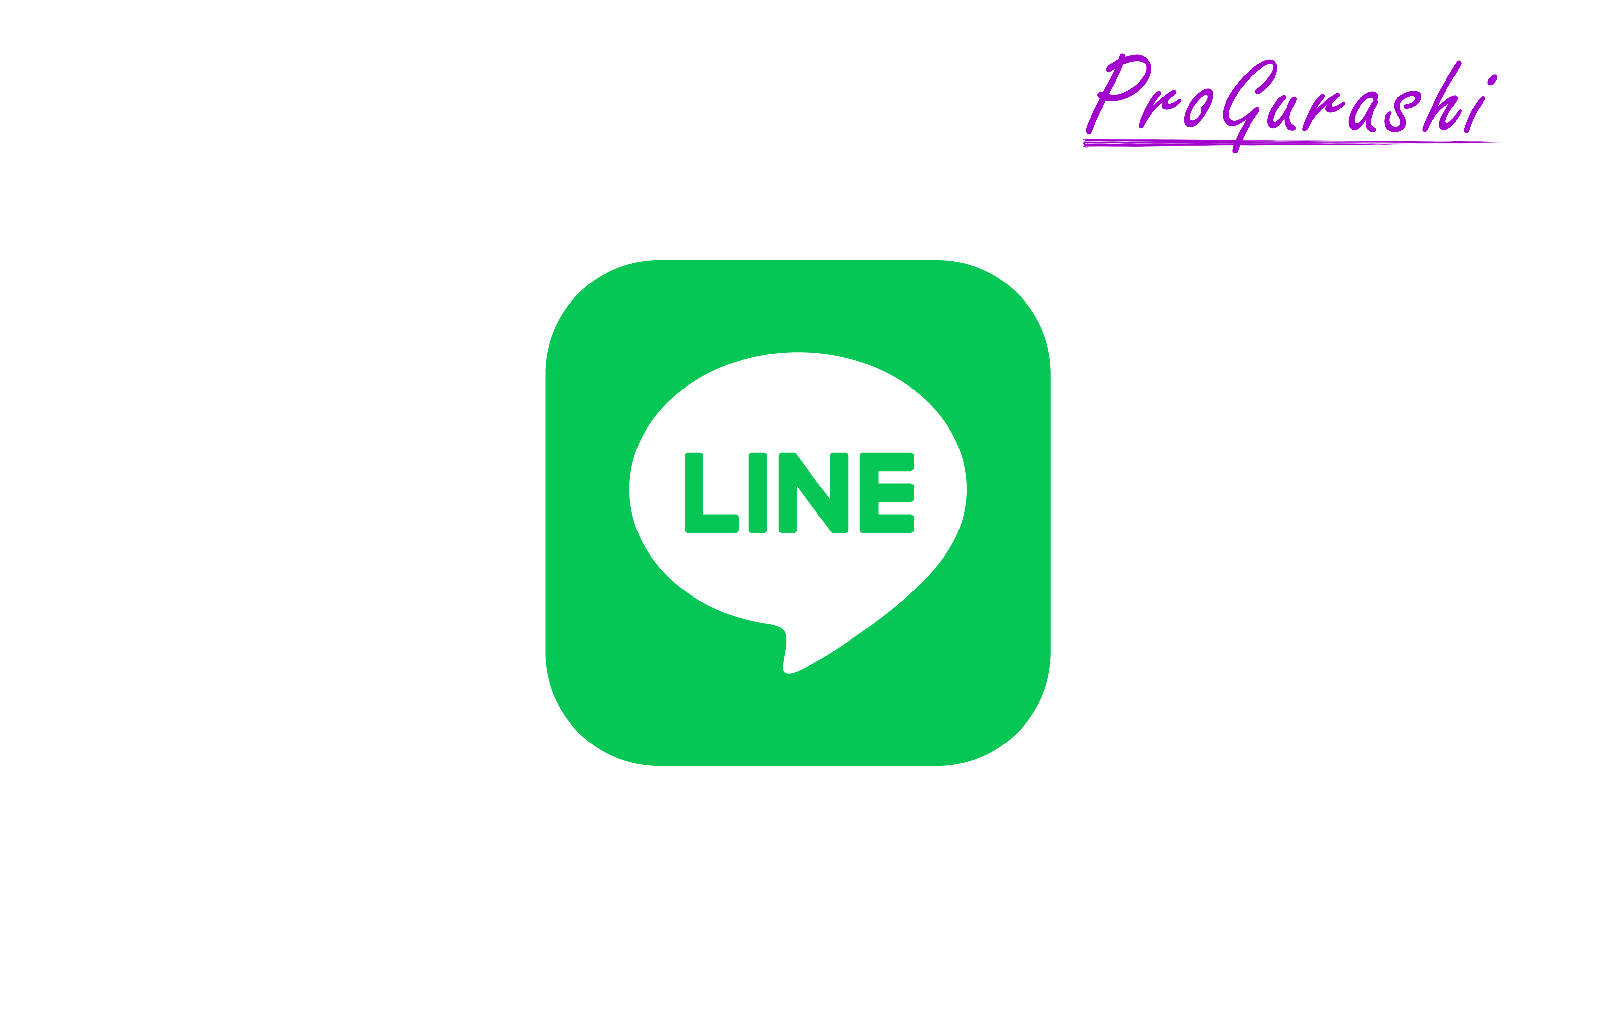
右上にある「設定」をクリックします。
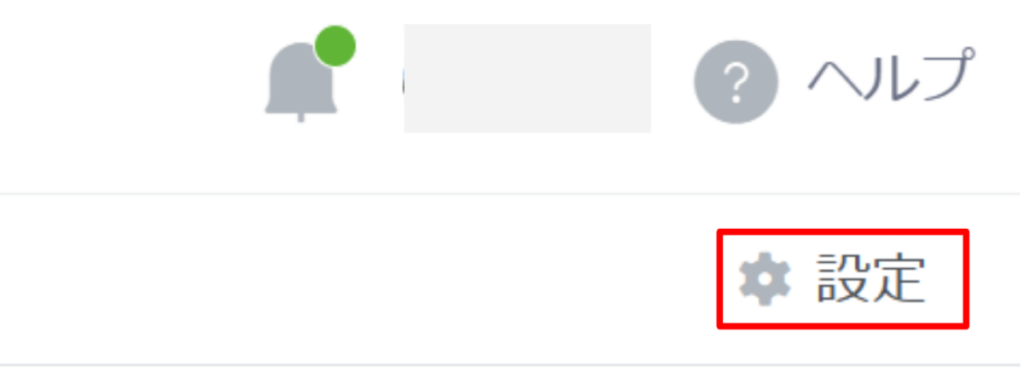
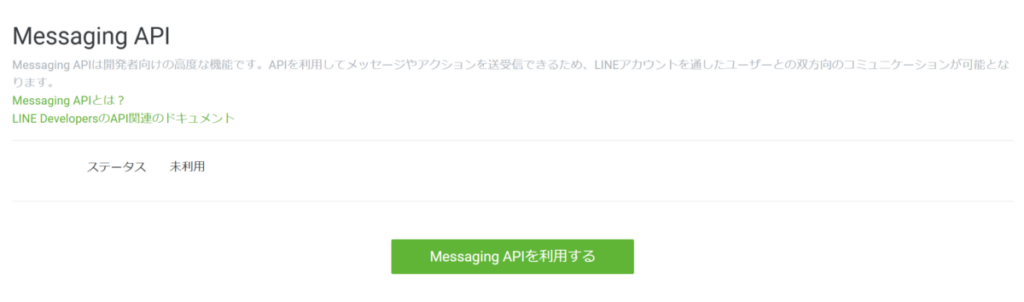
「設定 > Messaging API」をクリックします。
「Messaging APIを利用する」をクリックします。
プロバイダーを新規作成、または既存の中から選択します。
プロバイダーとは、LINEの様々なサービス(LINE公式アカウント、LINEログイン、LINEミニアプリなど)を提供する組織(企業)のことです。
1つのプロバイダーに対して、複数のチャネルを設定することができます。
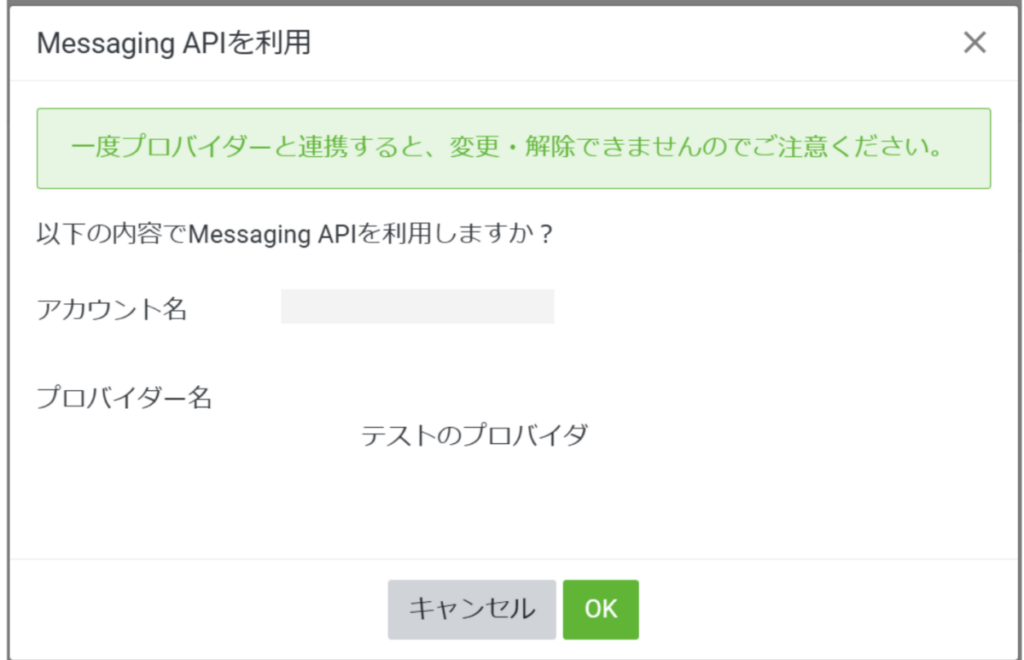
- 一度プロバイダーを連携すると、変更・解除をすることができません。
- プロバイダー名はLINEで友だち登録するときなどに表示されるため、しっかりと検討することをおすすめします。
- プロバイダー名は後から変更できます。
プライバシーポリシーや利用規約のURLがある場合はリンクを入力します(省略可能)。ない場合は「OK」をクリックします。
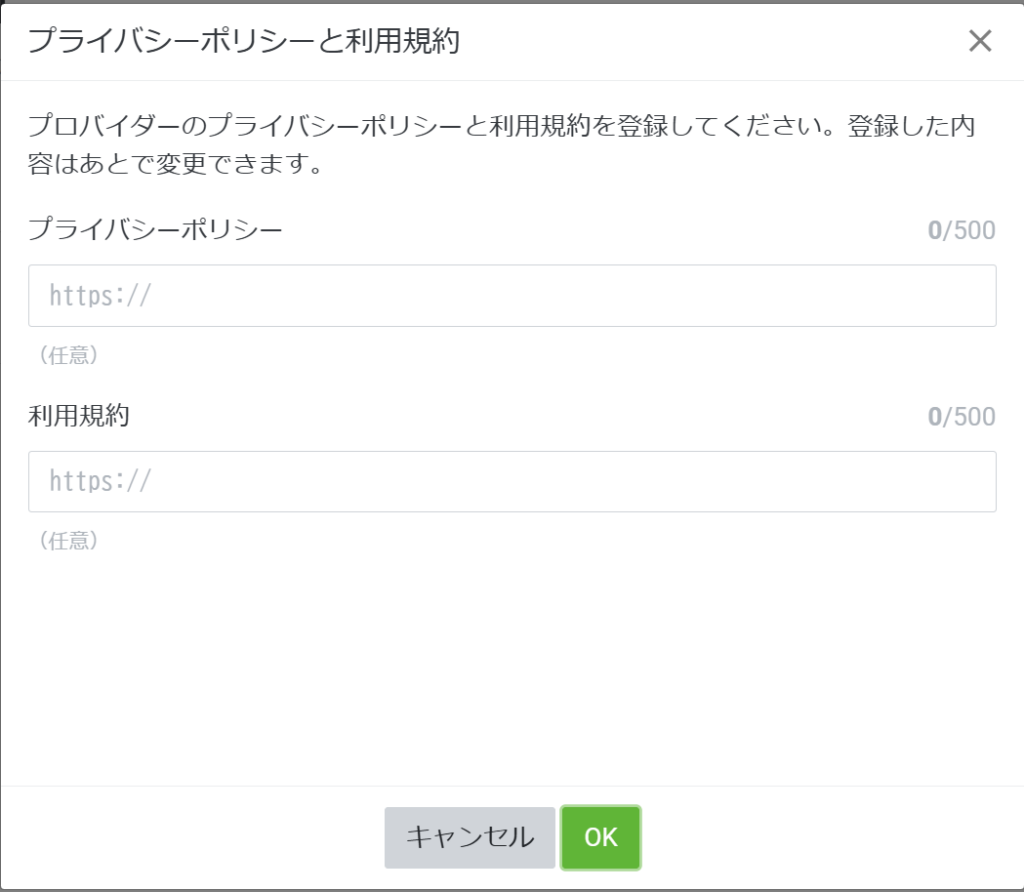
「OK」をクリックします。
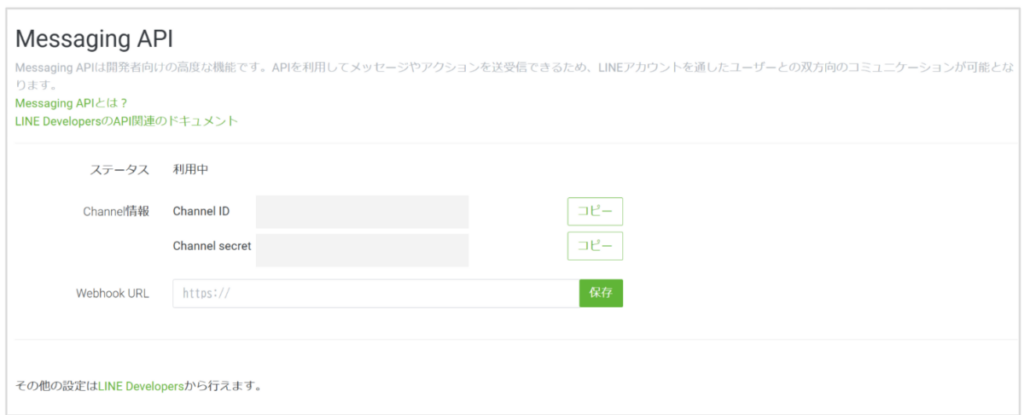
連携が完了すると、「Channel ID」や「Channel secret」が設定されます。
チャネルアクセストークンの発行(LINE Developers)
GASでプログラムを組む前に、Messaging APIのチャネルアクセストークンを発行する必要があります。
チャネルアクセストークンはLINE Developersというツールから作成する必要があります。検索するか、下記URLからログインできます。
ログイン情報は通常のLINEと同じです。
プロバイダーの一覧が表示されるので、対象のプロバイダーを選択します。
Messaging APIのチャネルが追加されているので、これをクリックします。
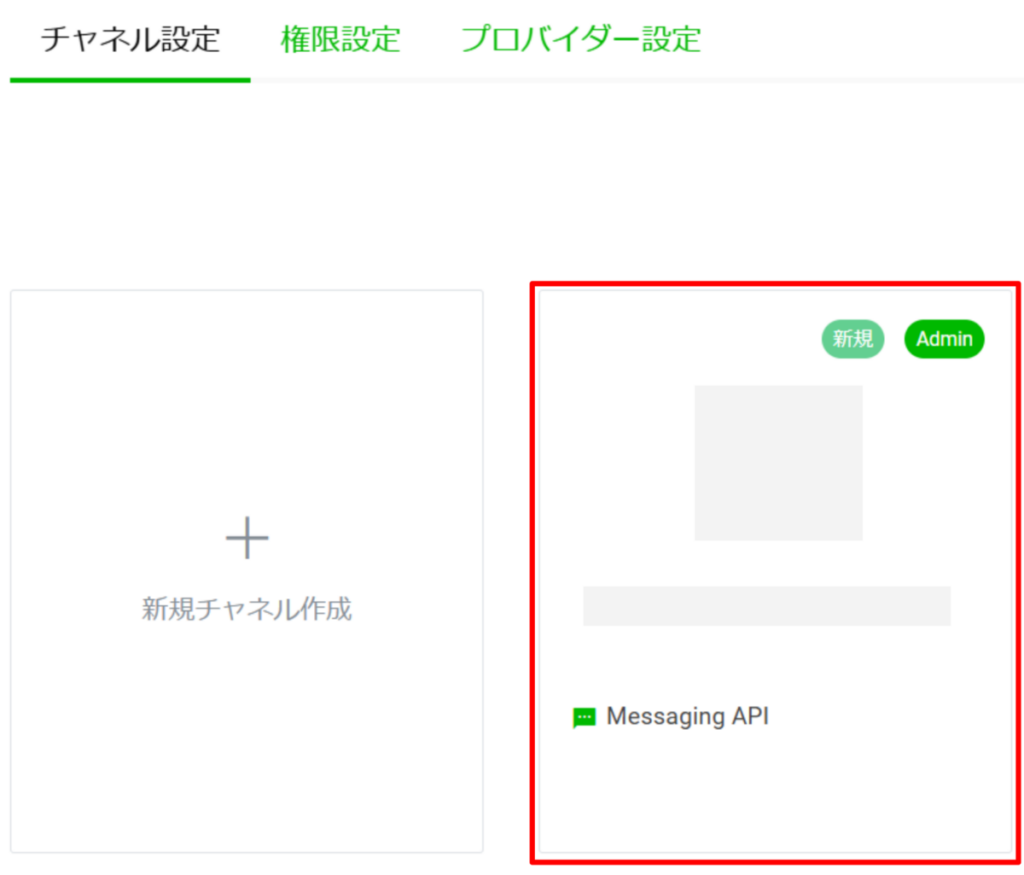
タブを「Messaging API設定」にします。

一番下に「チャネルアクセストークン」があるので「発行」をクリックします。
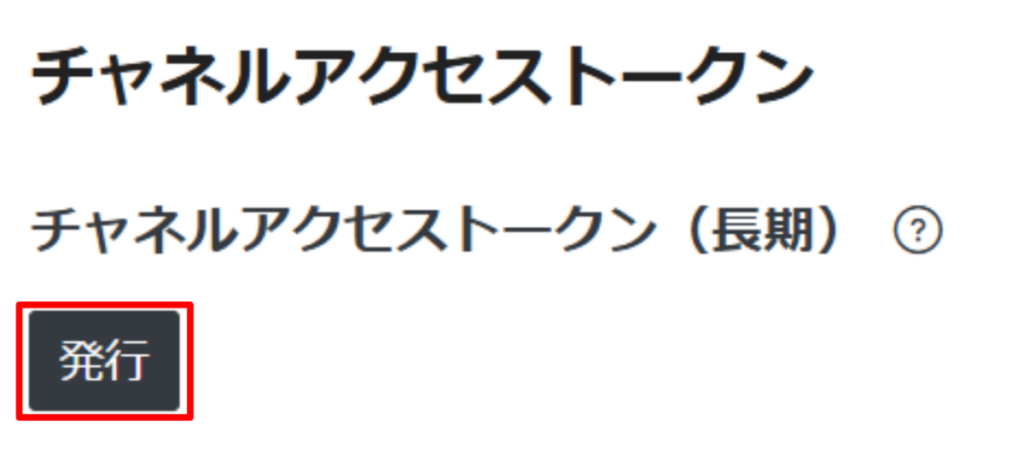
トークンが発行されるので、コピーします。

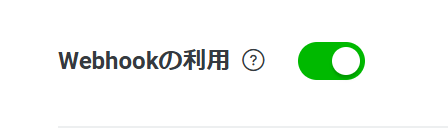
また、「Webhookの利用」をONにしておきます。
GASでプログラムを作成
続いてGASでプログラムを作成します。
「CHANNEL_ACCESS_TOKEN」の部分に、上記で発行したチャネルアクセストークンをセットします。
const CHANNEL_ACCESS_TOKEN  = 'LINEのチャネルアクセストークン';

function doPost(e) {
  const eventData = JSON.parse(e.postData.contents);

  // イベントデータが存在するか確認
  if (eventData.events && eventData.events.length > 0) {
    const event = eventData.events[0];

    // ユーザーIDとリプライトークンが取得できる場合のみ処理を実行
    if (event.type === 'message' && event.message.type === 'text' && event.replyToken) {
      const userId = event.source.userId;
      const replyToken = event.replyToken;
      replyUserId(replyToken, userId);
    } else {
      console.log("イベントタイプまたはリプライトークンが見つかりません");
    }
  } else {
    console.log("イベントデータが存在しません");
  }
}

// ユーザーIDを返信する関数
function replyUserId(replyToken, userId) {
  const url = 'https://api.line.me/v2/bot/message/reply';
  const messages = [
    {
      type: 'text',
      text: `あなたのユーザーIDは: ${userId} です`
    }
  ];

  const options = {
    method: 'post',
    headers: {
      'Content-Type': 'application/json',
      'Authorization': `Bearer ${CHANNEL_ACCESS_TOKEN}`
    },
    payload: JSON.stringify({
      replyToken: replyToken,
      messages: messages
    })
  };

  const response = UrlFetchApp.fetch(url, options);
  console.log(response.getContentText());
}
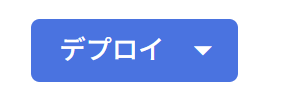
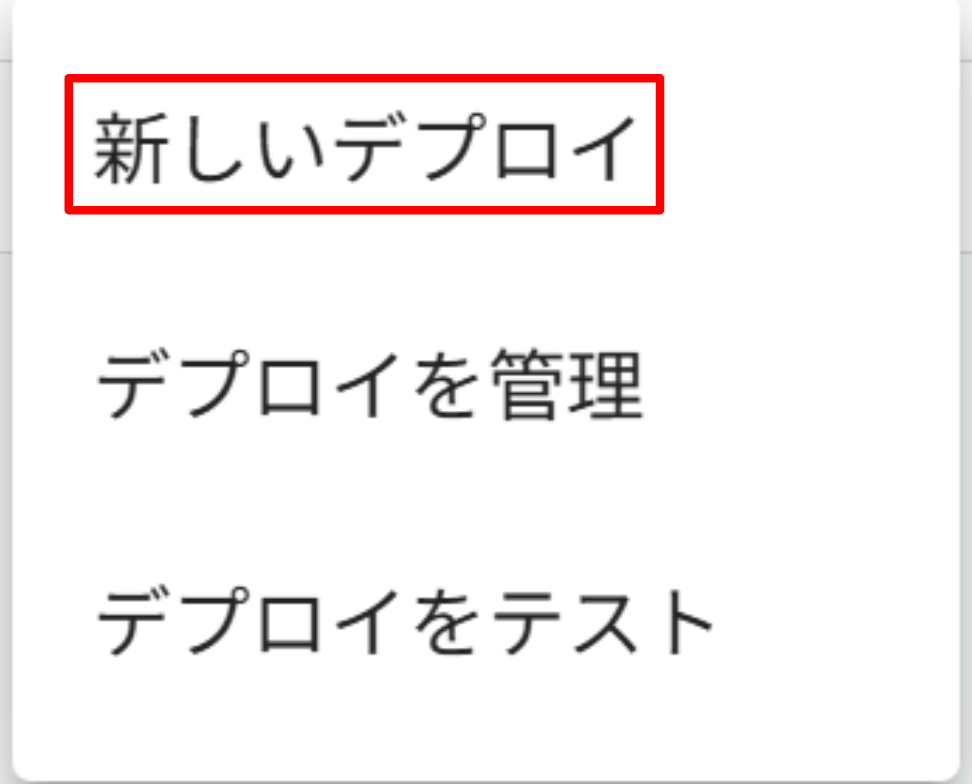
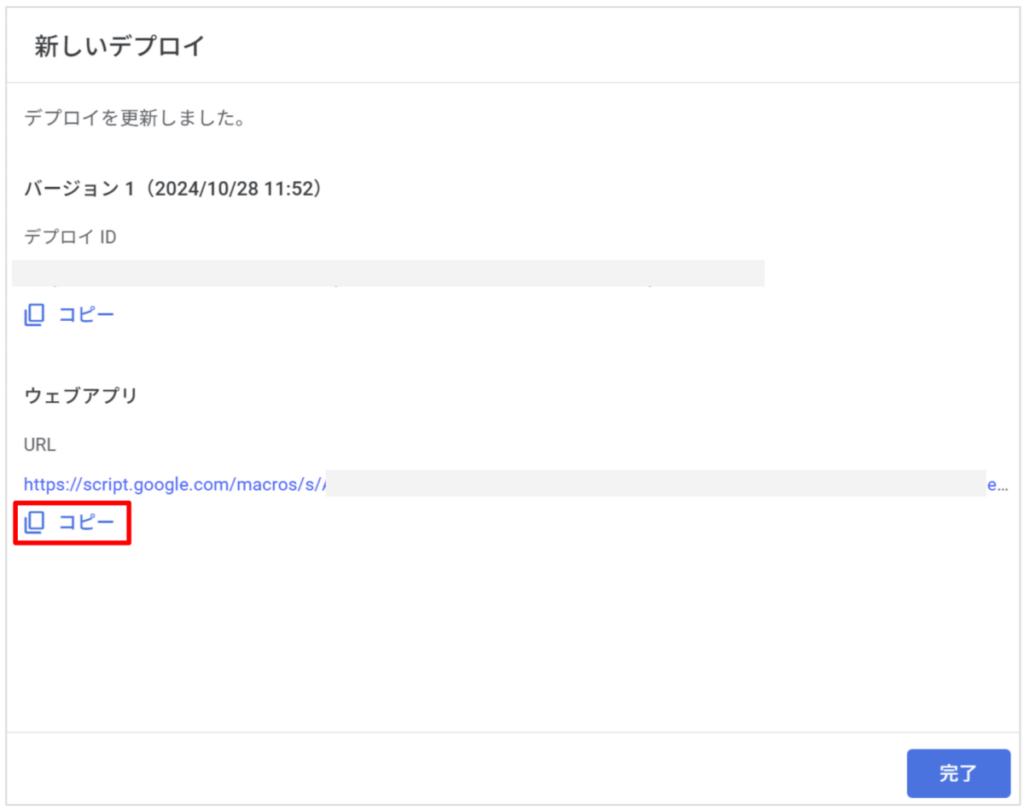
右上の「デプロイ」をクリックし「新しいデプロイ」を選択します。
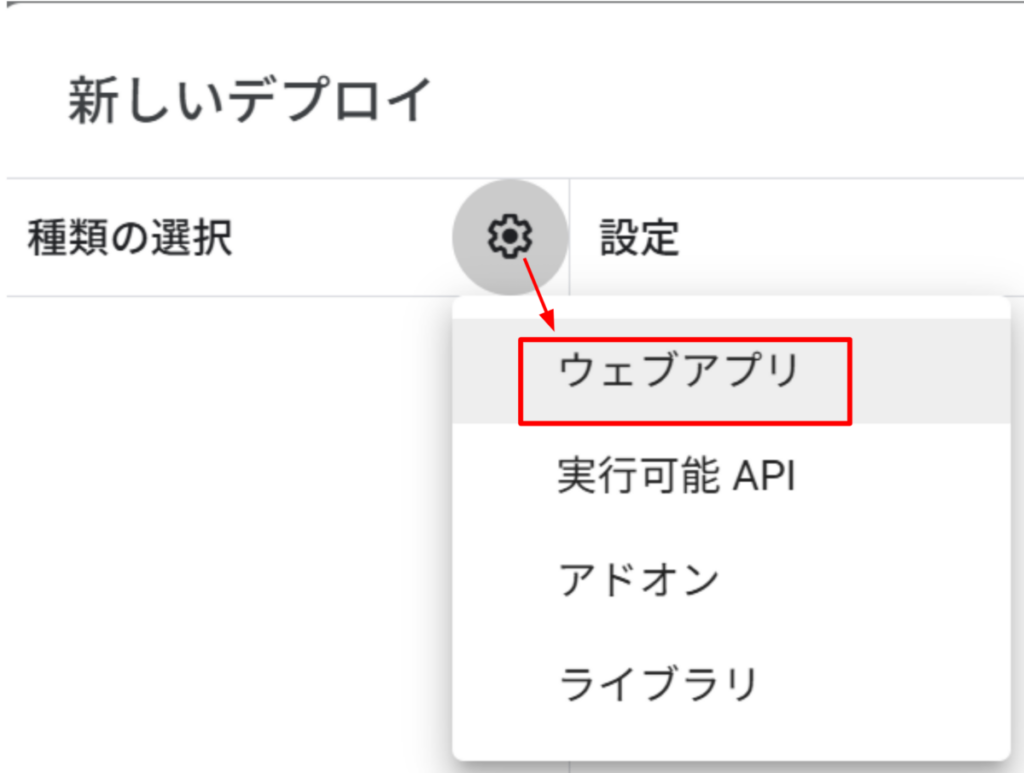
「種類の選択」の歯車アイコンをクリックして「ウェブアプリ」を選択します。
アクセスできるユーザーを「全員」とし、「デプロイ」をクリックします。
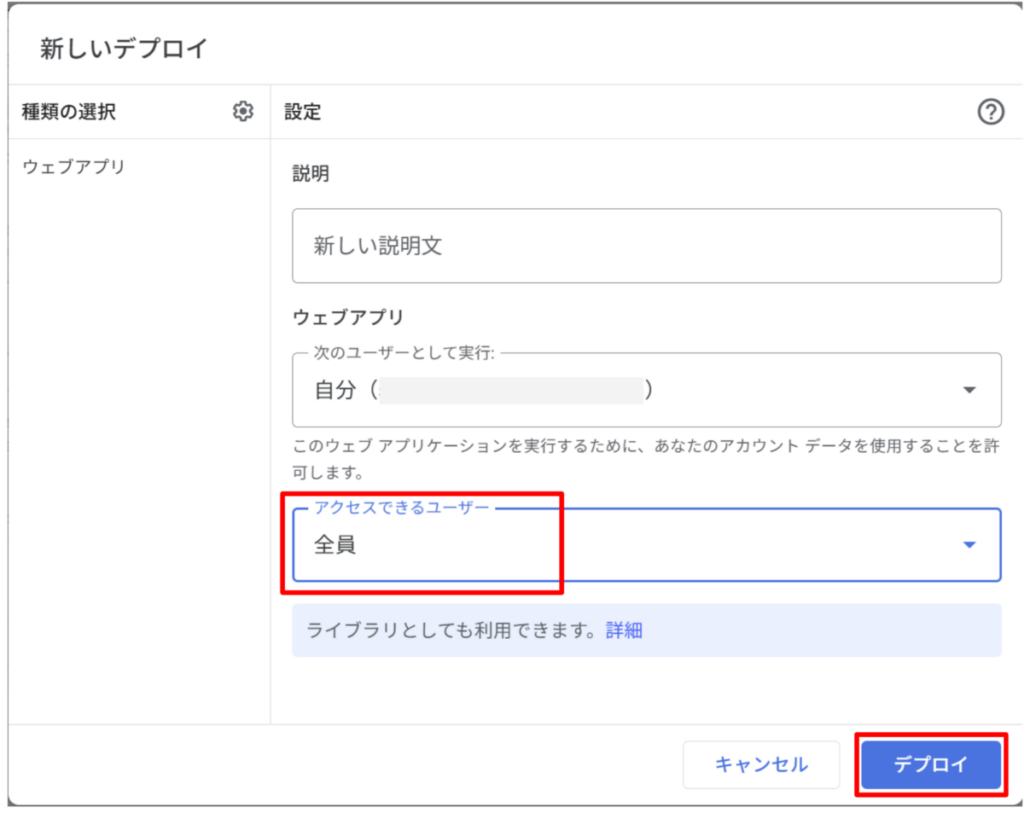
ウェブアプリのURLをコピーします。
コピーしたURLを、LINEのMessaging APIのWebhook URLに貼り付けて「保存」をクリックします。
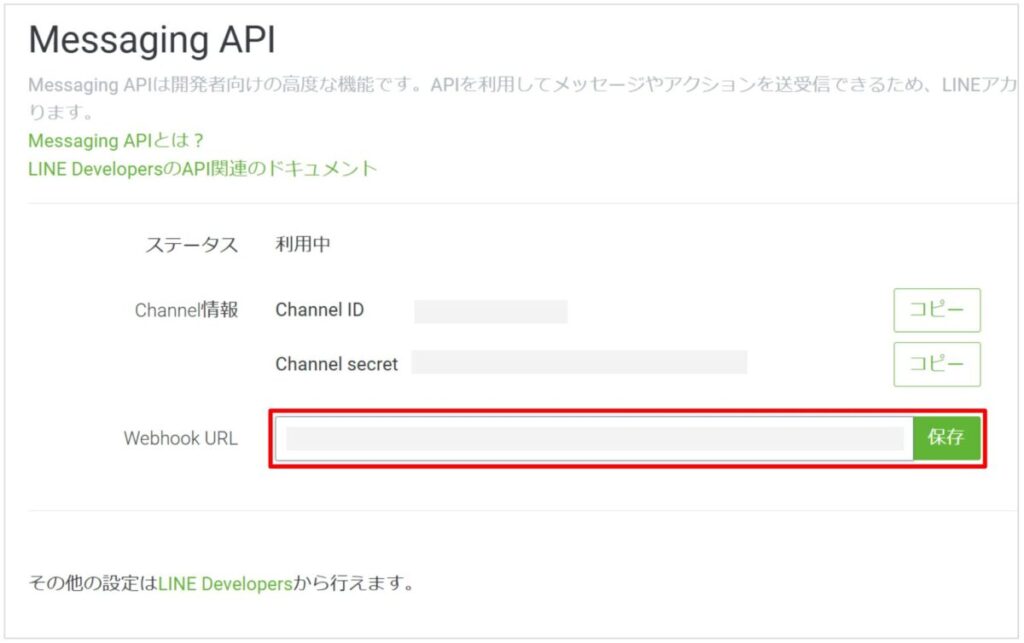
以上でLINEボットの作成は完了です。
メッセージを送信する
LINEから対象のアカウントに対してメッセージを送信します。
するとユーザーIDを自動で返します。
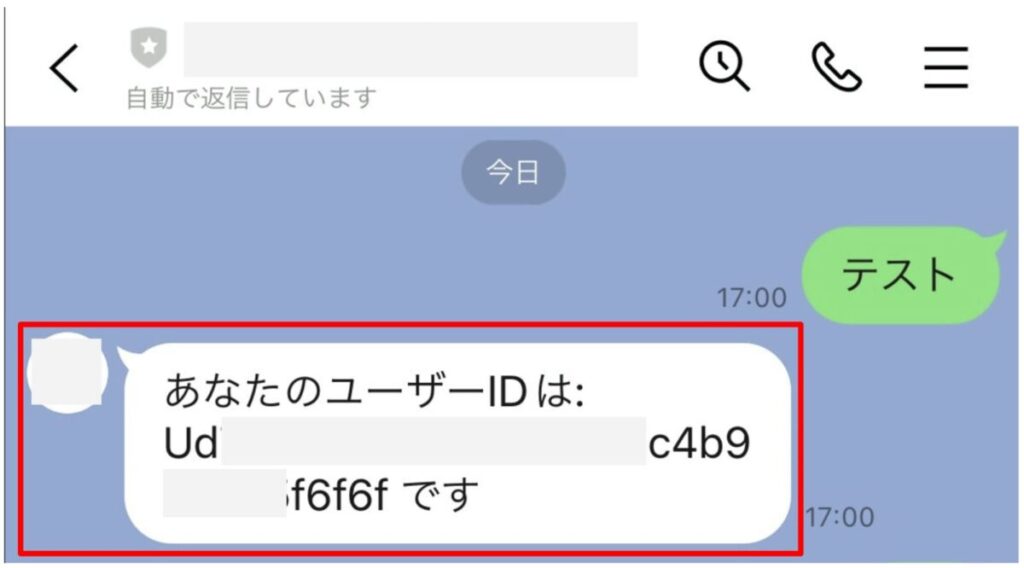
これでユーザーIDの取得が完了です。